
Laying and grouting tiles – step by step

Laying tiles means: checking and priming the substrate, applying tile adhesive with a notched trowel, bedding the tiles within the open time, grouting once the adhesive has fully cured and finally making all corner and junction joints elastic with silicone. Three products are always needed: a flexible tile adhesive, a suitable grout and a silicone for the junction joint. Primer, levelling compound and decoupling membrane are added depending on the substrate. The most common mistakes happen not during bonding but during waiting: grouting too early leads to colour variations and efflorescence.
Shopping list
Basic set (always required)
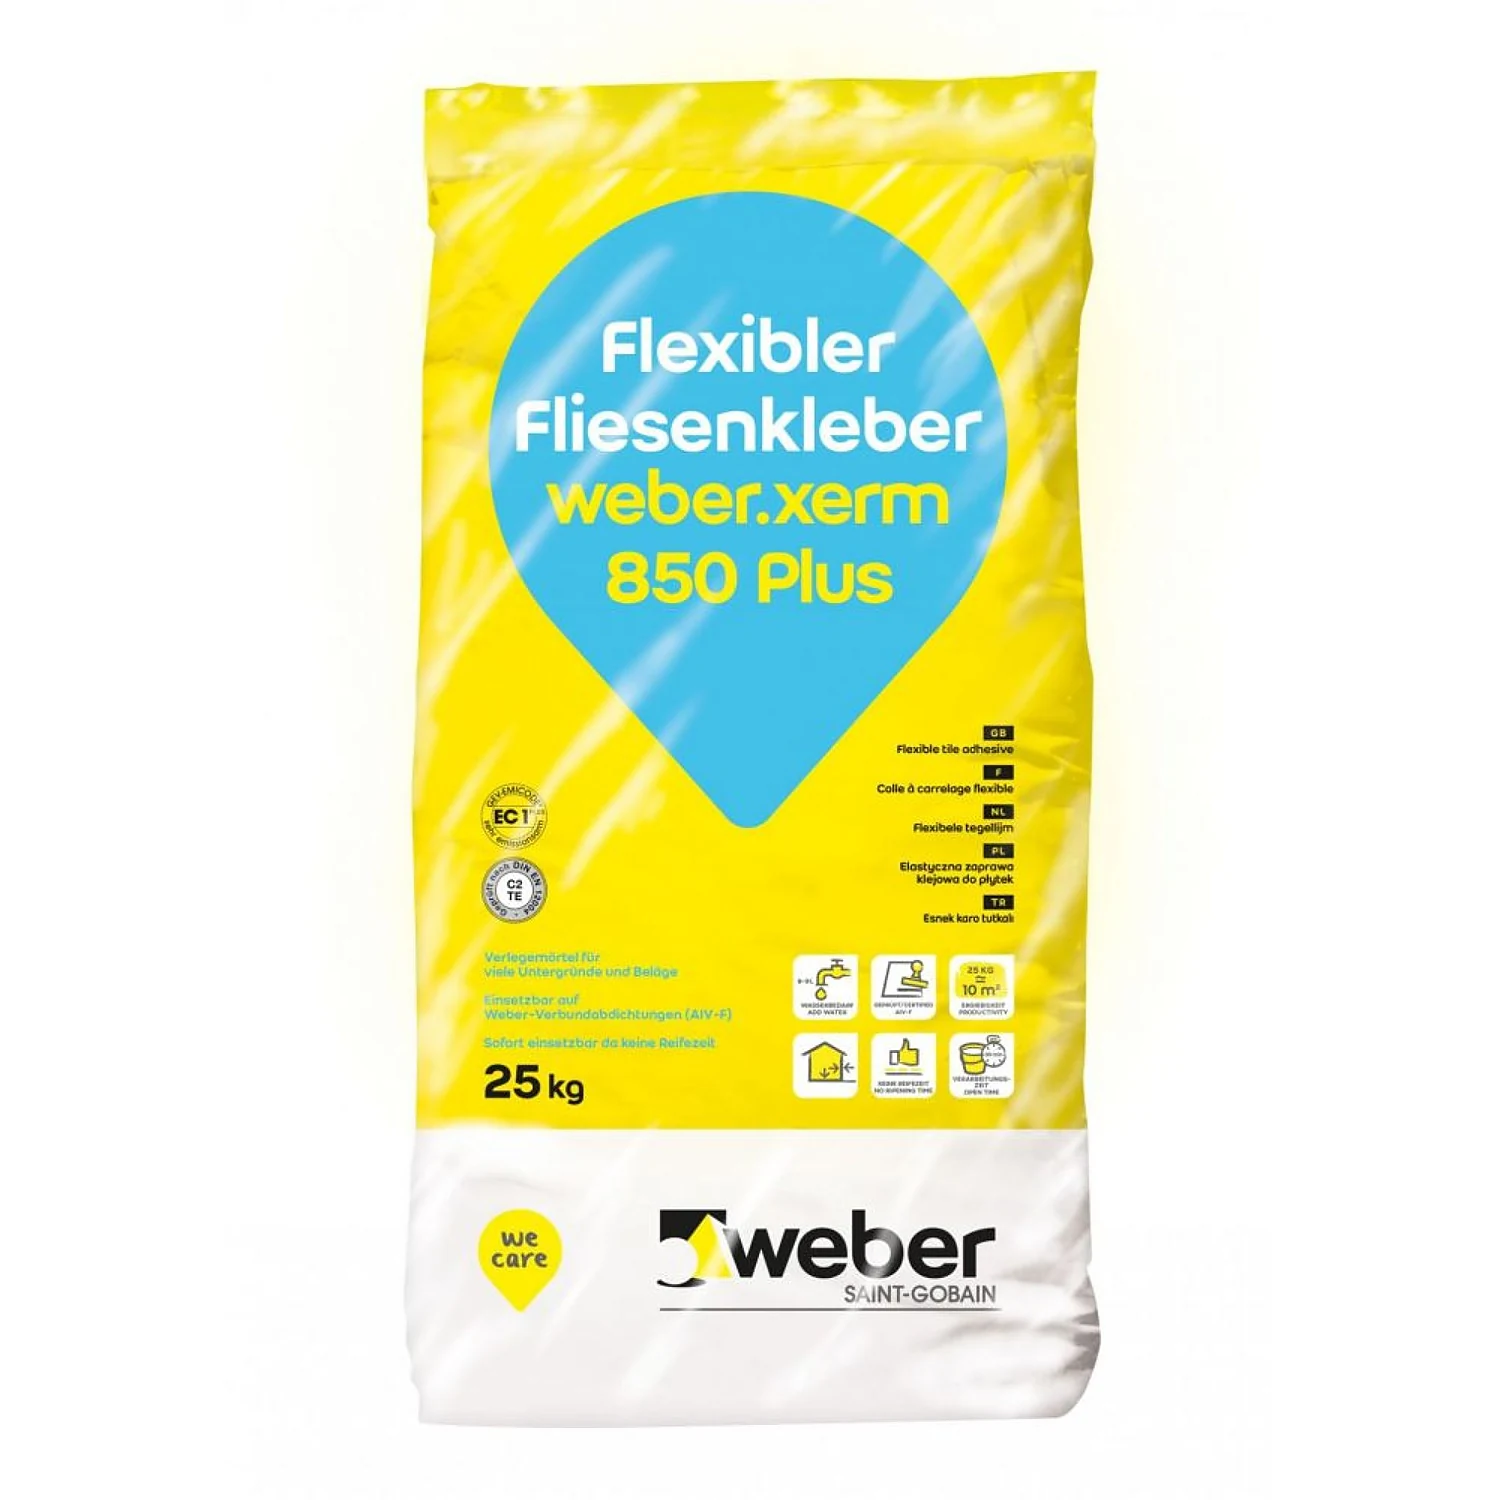
1. Tile adhesive
weber.xerm 850 plus – flexible thin-bed and medium-bed mortar to DIN EN 12004, very non-slump, levels unevenness up to 10 mm, suitable for underfloor heating.
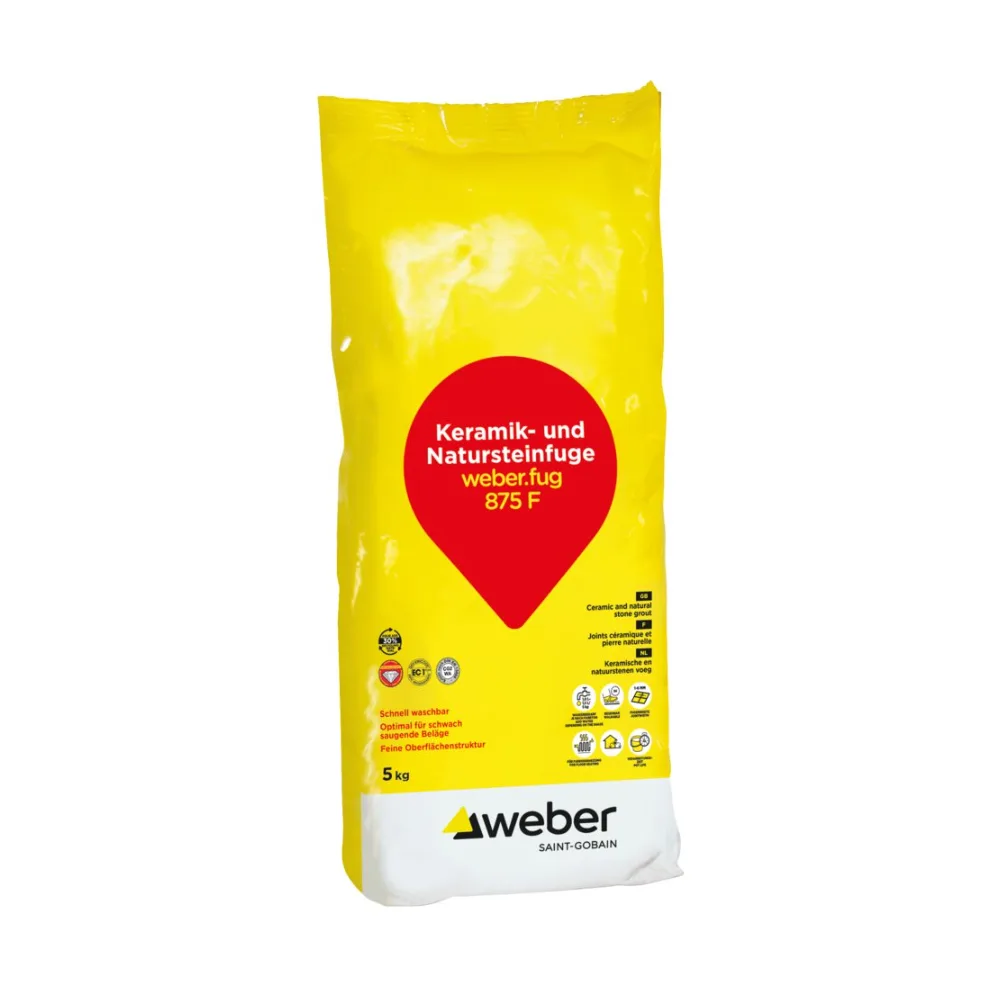
2. Grout
weber.fug 875 F – CG2 WA to DIN EN 13888 for joint widths of 1 to 6 mm, quartz-sand-free (except black), EMICODE EC 1.

3. Silicone for the junction joint
Ottoseal S125 – neutral-curing 1K alkoxy sealant, non-corrosive, good adhesion to ceramic substrates, fungicide-treated, suitable to IVD guideline no. 7+9 (guideline of the German adhesives industry association IVD).
Optional – depending on the installation situation
- Absorbent or very smooth substrate: Ottoflex Tiefengrund – adhesion-improving primer for walls and floors, also on dense and smooth surfaces such as glazed tiles; for use in tile laying to DIN 18157-1.
- Uneven wall: weber.plan 818 – levelling and repair compound, 1 to 30 mm in one working step, can be tiled after approx. 5 hours. Not on gypsum-based substrates.
- Crack-prone substrate, large-format tiles or natural stone: Ottoflex decoupling membrane – 0.8 mm thick waterproofing and decoupling membrane, roll 30 × 1 m, consumption 1.1 m²/m². Details in the guide Laying a decoupling membrane correctly.
- Joints wider than 6 mm or wet areas: weber.fug 877 – CG2 WA, covers 2 to 20 mm, also for damp, wet and permanently submerged areas (not for drinking water tanks and swimming pools).
- High water exposure, balcony or terrace: weber.xerm 844 – tile adhesive and bonded waterproofing (AiV) in one product, C1 E / S2 to DIN EN 12004.
- Large format or glass mosaic: weber.xerm 861 (C2 TE S1) instead of the 850 plus.
- Tight schedule: weber.xerm 853 F – fast-setting medium-bed adhesive (C1 FT).
You will find all adhesives and grouts in the category Tile adhesives & grouts.
Tools
- Notched trowel (notch size to suit the tile format), finishing trowel
- Drill with mixing paddle, clean mortar bucket
- Rubber float, sponge float, two buckets of water
- Tile spacers or wedges, straightedge, spirit level, rubber mallet
- Paint roller or primer brush for priming
- Caulking gun, smoothing spatula and smoothing agent for the silicone joint
- FFP2 dust mask, safety goggles, gloves – tile adhesive, grout and levelling compound contain cement and are alkaline
Why primer, adhesive and grout form a system
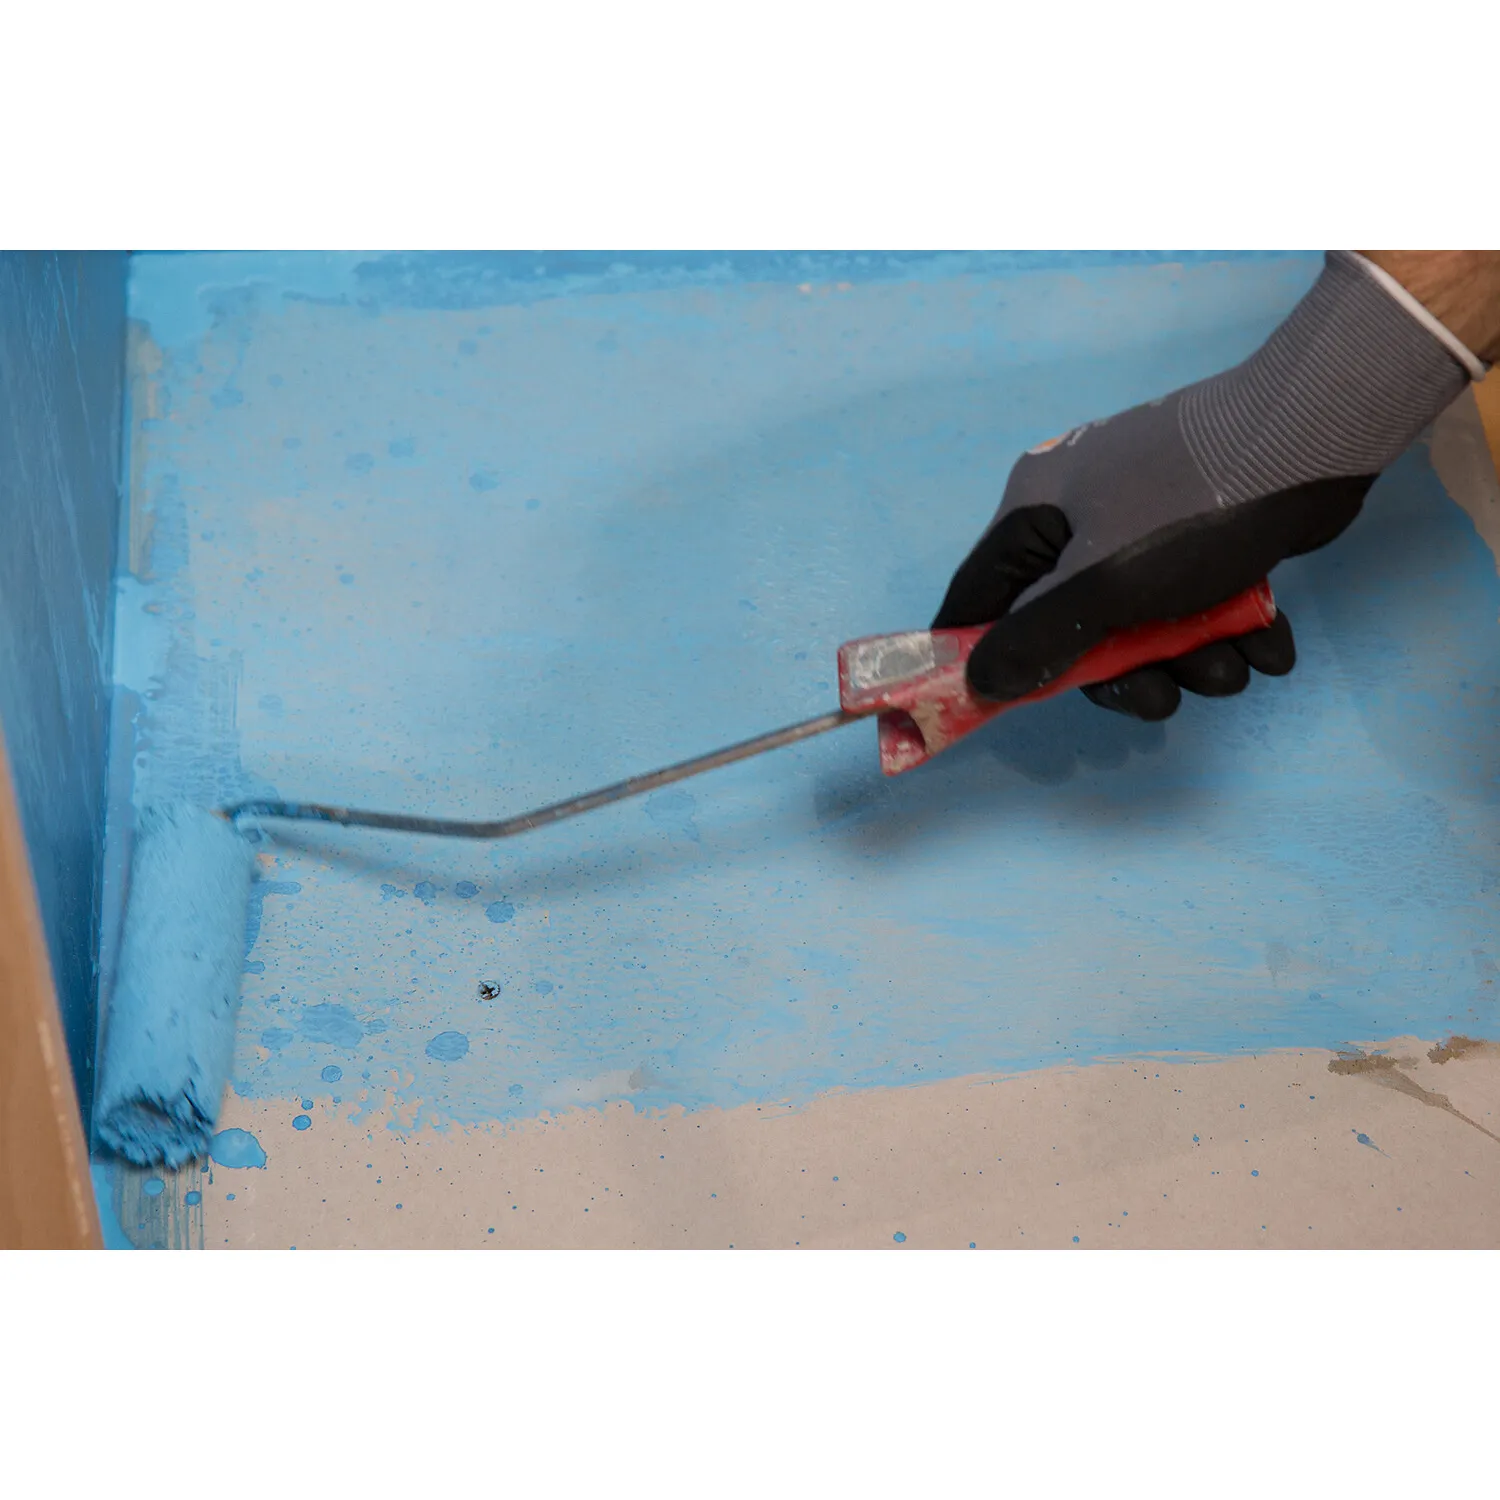
A tiled surface does not hold because the adhesive is strong, but because every layer matches the next. The primer controls absorbency: if an absorbent screed draws the water out of the adhesive too quickly, the cement cannot set fully and the bond later fails at the interface. On dense, smooth surfaces – such as old glazed tiles – the same primer works the other way round, as a bonding bridge.
The adhesive must wet the back of the tile over its full area, otherwise voids form in which water collects and on which the tile breaks under load. And the grout only fills the field joints: corner, junction and pipe penetration joints do not belong in cement mortar, because two components move independently of each other there. These joints are made elastic with silicone – which is also what the application notes of both grouts say.
Step by step
Check the substrate and measure residual moisture
The substrate must be load-bearing, clean, dry and free of separating substances. Remove loose parts, cement laitance and old adhesive residues mechanically. Why: every separating layer – oil, dust, formwork release agent – becomes a predetermined breaking point under the tile.
Measure the residual moisture with the CM meter before priming. Limits: cement screed 2 %, calcium sulphate screed 0.5 %, heated calcium sulphate screed 0.3 %, gypsum-based plasters 1 %.
Check: lay a straightedge on the surface – the adhesive compensates for unevenness up to 10 mm; anything above that is levelled beforehand (on walls with weber.plan 818, on floors with a flowable levelling compound).
Prime and carry out the scratch test
Ottoflex Tiefengrund for absorbent cement-bound substrates: dilute 1:1 to 1:2 with water, mix thoroughly and apply evenly with a paint roller, primer brush or brush; on highly absorbent surfaces repeat the process. Consumption when diluted approx. 100 to 200 ml/m². To consolidate cement screed before tile laying: first coat diluted 1:1, second coat undiluted, then wait approx. 24 hours.
Why: the primer consolidates the surface and slows absorption, so the adhesive keeps the water it needs to set.
Check: drying time at +20 °C and 50 % RH is approx. 2 hours. Then the scratch test: scrape across the surface with a fingernail or the corner of a spatula – nothing may chalk or powder off. If it does, consolidation is insufficient and another coat is needed.
Avoid puddles; clean tools with water immediately.
Optional: install waterproofing or decoupling
In splash and wet areas, waterproofing belongs under the tile. Which exposure class applies to you is set out in the guide Bathroom waterproofing – regulations and classes; the procedure with liquid membrane is described in Waterproofing a bathroom with liquid membrane.
On crack-prone substrates, over underfloor heating and for large-format tiles or natural stone, add the Ottoflex decoupling membrane: 0.8 mm thick, 300 g/m², vapour-permeable and workable with common tile adhesives and grouts. Why: it separates covering and substrate mechanically, so movements in the screed do not show up as cracks in the tile.
Check: no creases, no air bubbles, joints and connections sealed and made as specified by the manufacturer. Consumption 1.1 m²/m² – buy the overlap allowance as well.

Mix and spread the adhesive
weber.xerm 850 plus: mix with clean water until lump-free – follow the water quantity given on the bag. The adhesive needs no maturing time and has an extended open time. Spread with the notched trowel only as much area as you can cover within the open time, usually about one square metre at a time.
Why: if the spread adhesive forms a skin, the tile adheres only at the tips of the ridges. For that reason, lay large formats using the buttering-floating method: adhesive on the substrate and on the back of the tile.
Check: after the first tiles, lift one tile again – the back must be wetted with adhesive over its full area. If it is not, enlarge the notch or switch to buttering-floating. The guide Calculating tile adhesive consumption shows how much you need.
Lay and bed the tiles
Lay the tiles within the open time and bed them with a slight sliding motion, not just by pressing down. Set spacers or wedges and continuously check the alignment with a straightedge and spirit level. Carry the movement joints of the substrate into the covering.
Why: bedding collapses the adhesive ridges and eliminates the void under the tile – this decides bond strength and impact sound insulation.
Check: once the adhesive has begun to set, tap across the surface; hollow-sounding tiles must be relaid immediately while the adhesive is still fresh. Keep joints evenly deep and free of adhesive residue – scrape out squeezed-out adhesive straight away.
Grouting
Only grout once the bed mortar has fully cured. The joints must be dry, evenly deep and free of adhesive residue; strongly absorbent coverings should be pre-wetted with clean water.
Mix 5 kg weber.fug 875 F with 1 to 1.5 l of clean water until free of lumps, leave to mature for 3 minutes, then stir briefly again. Work it in flush and deep with the rubber float; after a few minutes apply again and draw off diagonally. Working time approx. 25 minutes, application temperature +5 to +30 °C. Once it has begun to set, wash off with a damp sponge or sponge float; remove the grout haze later with a lightly damp sponge. For joints over 6 mm use weber.fug 877 (2 to 20 mm): per 15 kg, 2.8 to 3.1 l of water, working time approx. 30 minutes.
Why: a damp adhesive releases water into the joint – the result is colour variations and efflorescence that cannot be washed off.
Check: mix every batch with the same specified quantity of water; inconsistent water addition is the most frequent cause of colour variation. Test dark shades on a sample area beforehand. Finally check: joints full, no pores, no grout haze.
Make the junction joints elastic
Seal all corner, junction and pipe penetration joints with Ottoseal S125. The adhesion surfaces must be clean, grease-free, dry and load-bearing: clean non-porous substrates with OTTO Cleaner T (flash-off time approx. 1 minute, lint-free cloth); mechanically remove loose particles from porous surfaces. Application temperature +5 to +35 °C. Smooth with smoothing agent and smoothing spatula before a skin forms.
Why: the junction joint has to absorb movement between two components. Cement mortar cannot do that – it cracks. The S125 cures neutrally, is non-corrosive and adheres well to ceramic.
Check: joint bonded on both sides, evenly curved, no water streaks from the smoothing agent – remove these straight away, as streaks otherwise remain permanently. Guideline values for width and depth are in the guide How wide may a silicone joint be?, the technique in the guide Smoothing a silicone joint perfectly. The cartridge calculator works out how much you need.

Curing times and what to check
| Work step | Product | Waiting time | Check before continuing |
|---|---|---|---|
| Priming | Ottoflex Tiefengrund | approx. 2 h at +20 °C / 50 % RH; with a double coat to consolidate approx. 24 h | Scratch test: nothing chalks or powders off |
| Levelling the wall | weber.plan 818 | can be tiled after approx. 5 h, can be painted over after approx. 24 h; working time approx. 45 min at 23 °C | Surface straight to the straightedge, compound hard and dry |
| Laying tiles | weber.xerm 850 plus | fully cured before grouting (manufacturer's details) | Test tile lifted: back fully wetted; surface does not sound hollow |
| Grouting 1–6 mm | weber.fug 875 F | walkable after 3 h, mechanically loadable after 3 days | Joints full, no pores, haze removed |
| Grouting 2–20 mm | weber.fug 877 | walkable after 2 h, mechanically loadable after approx. 3 days, fully loadable after 7 days | same colour effect across all batches |
| Silicone joint | Ottoseal S125 | curing proceeds from outside inwards; the time increases with layer thickness | glossy skin closed, no water streaks, joint not bonded on three sides |
| First cleaning | – | ordinary household cleaners only after 14 days | no strongly acidic cleaners, no high-pressure or steam cleaners |
Common mistakes – and how to avoid them
- Grouted too early. The adhesive releases residual moisture into the joint, and colour variations and efflorescence result. Let the bed mortar cure fully.
- Water added by feel. Bags mixed differently produce joints in different shades. Fix the water quantity once, use a measuring beaker and mix every batch identically.
- Too much adhesive spread at once. A skin on the adhesive ridge means point contact instead of a bond. Always spread only as much area as will be bedded within the open time.
- Corner joint closed with grout. It reliably cracks. Corner, junction and pipe penetration joints must be made elastic.
- Not primed. On absorbent screed the adhesive loses its mixing water; on old glazed tiles there is no bonding bridge. The same primer solves both cases.
- Wide joint filled with narrow-joint grout. Above 6 mm a wide-joint grout belongs in the joint; otherwise the grout shrinks and the joint cracks at the flanks.
- Cleaned too harshly too early. Strong acids and steam cleaners attack the young cement joint. First clean with household cleaner after 14 days; the procedure for each joint type is in the guide Cleaning grout joints.
- Mixed without protective equipment. Cement-based products are alkaline: wear an FFP2 mask, safety goggles and gloves, and rinse splashes off with water immediately.
Frequently asked questions
When may I grout after tiling?
Only once the bed mortar has fully cured – the exact time is given in the adhesive manufacturer's details. The joints must be dry, evenly deep and free of adhesive residue. If you grout earlier, you risk colour variations and efflorescence in the joint.
When can the fresh tiled surface be walked on again?
With weber.fug 875 F the surface is walkable after 3 hours and mechanically loadable after 3 days. With weber.fug 877 it is walkable after 2 hours, mechanically loadable after around 3 days and fully loadable after 7 days.
Must I always prime before tiling?
Not always, but usually. Absorbent substrates such as cement screed or plaster draw the mixing water out of the adhesive and need priming; dense, smooth surfaces such as glazed old tiles need it as a bonding bridge. Ottoflex Tiefengrund covers both cases and is intended for tile laying to DIN 18157-1.
Which grout do I need for which joint width?
Up to 6 mm, weber.fug 875 F (1 to 6 mm, CG2 WA, quartz-sand-free except black, and therefore gentle on weakly absorbent coverings). Above that, weber.fug 877, which covers 2 to 20 mm and is also approved for damp and wet areas.
Can I close the corner joint with grout as well?
No. Corner, junction and pipe penetration joints do not belong in cement mortar, as the application notes of both grouts state. These joints are made elastic with a suitable silicone, for example Ottoseal S125.
Do I need a decoupling membrane?
It is not a mandatory component, but it makes sense on crack-prone substrates, over underfloor heating and with large-format tiles or natural stone. The Ottoflex decoupling membrane also acts as a bonded waterproofing layer, is 0.8 mm thick and workable with common tile adhesives and grouts; consumption is 1.1 m²/m².
At what temperature may I work?
The cement-based products require +5 to +30 °C, the silicone +5 to +35 °C. Protect fresh levelling surfaces from draughts, sun and heat, and do not try to „rescue“ stiffened mortar by adding water.
Not sure about the choice of material? Give us a call: Baustoffheld, Lindenstrasse 56, 47623 Kevelaer, phone +49 (0) 2831 - 916 77 03. You will find more instructions in the guides overview.
Basic set: you always need these products

Content: 25 Kilogram (€1.20 / 1 Kilogram)

10 variants
Content: 5 Kilogram (€4.26 / 1 Kilogram)

21 variants
Content: 0,31 Litre (€27.39 / 1 Litre)
Optional – depending on the installation situation


Content: 20 Kilogram (€2.50 / 1 Kilogram)


10 variants
Content: 5 Kilogram (€4.59 / 1 Kilogram)

Content: 6 Kilogram (€14.63 / 1 Kilogram)

Content: 25 Kilogram (€1.96 / 1 Kilogram)

Content: 25 Kilogram (€2.28 / 1 Kilogram)
More guides on this topic
All guides on “Floors, screed and tiles” Instructions
Guide: applying levelling compound
Levelling compound on old adhesive residues: what may stay, what has to go and how
 Basics
Guide: bonded screed – build-up and bonding primer
Build-up, bonding bridge and minimum thickness of the bonded screed, distinguished from the separating layer
 Instructions
Guide: cleaning joints – the right method for every type of joint
Clean cement, acrylic, silicone and epoxy joints properly without damaging them