

The short answer: A perfectly smoothed silicone joint comes out right if you work in the right order: mask the edges with masking tape, inject the sanitary silicone quickly and without interruption, apply smoothing agent immediately and pull the joint off in one single stroke with the joint smoother – before a skin forms. You remove the tape immediately afterwards. These instructions lead you in 6 steps to a clean, smooth joint.
What you need: shopping list
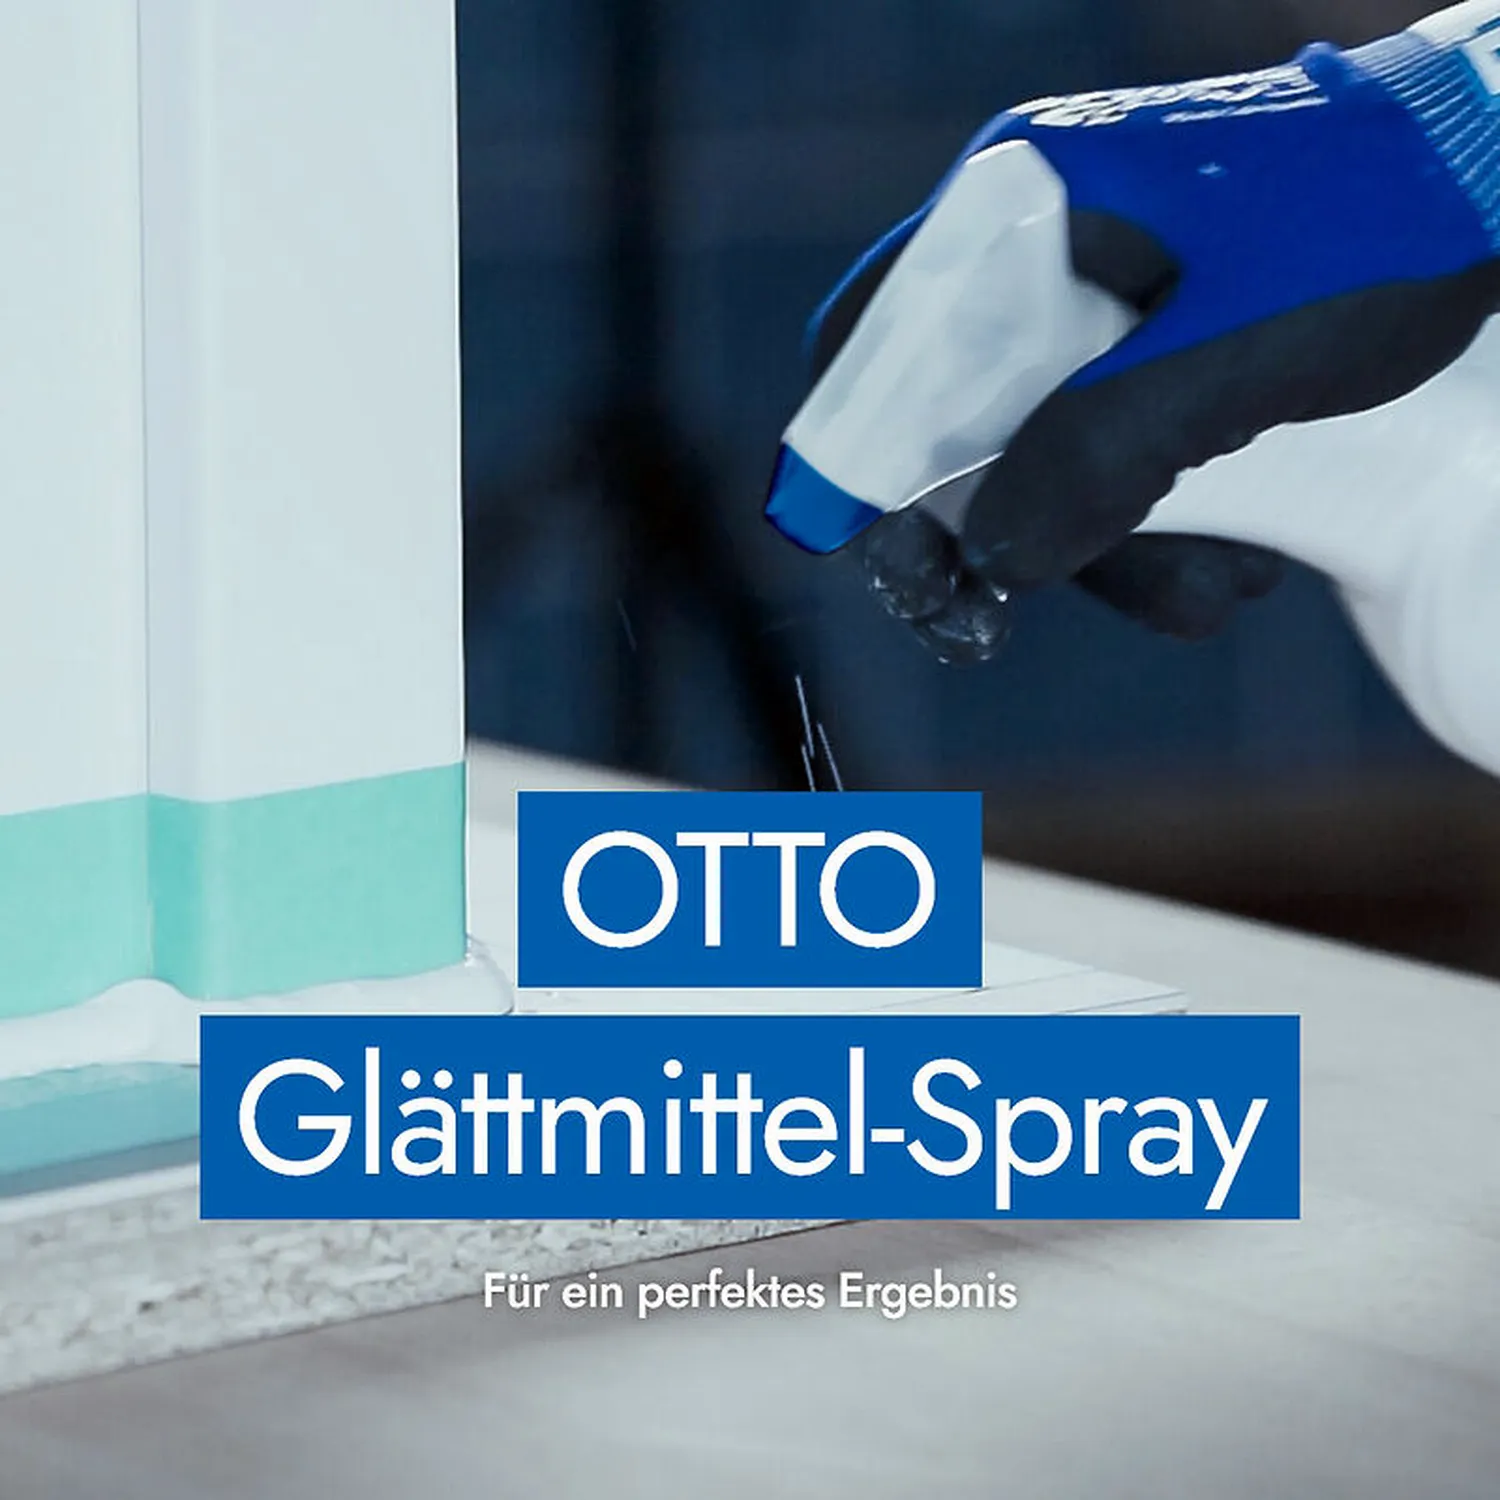
Basic set (always required)


Optional – depending on the installation situation
- Otto natural stone smoothing agent – compulsory on marble and other natural stones instead of the standard smoothing agent, prevents staining in the stone
- Further smoothing tools and shapes for special joint profiles – see the category Joint smoothers & smoothing agents
Tools: cartridge gun (see the category Cartridge & foil-bag guns), masking tape / masking strip, utility knife for cutting the cartridge nozzle, lint-free cloth. You will find all smoothing tools and smoothing agents together in the category Joint smoothers & smoothing agents.
Why correct smoothing decides the result
A silicone joint does not become tight and attractive through injecting alone but only through smoothing. When it is pulled off, the silicone is pressed evenly into the joint, excess material is removed and the surface is compacted – that makes the joint not only visually clean but also tighter and longer-lasting, as air pockets and irregular layer thicknesses are avoided.
According to the manufacturer, Ottoseal S100 is designed specifically for an outstandingly smoothable surface and is suitable for applications in accordance with IVD data sheet no. 3 and to DIN 18545, part 2, group E – provided the application is right. The smoothing agent helps by lightly wetting the tool and so preventing the silicone from sticking to the spatula and drawing threads.
Step by step: smoothing a silicone joint
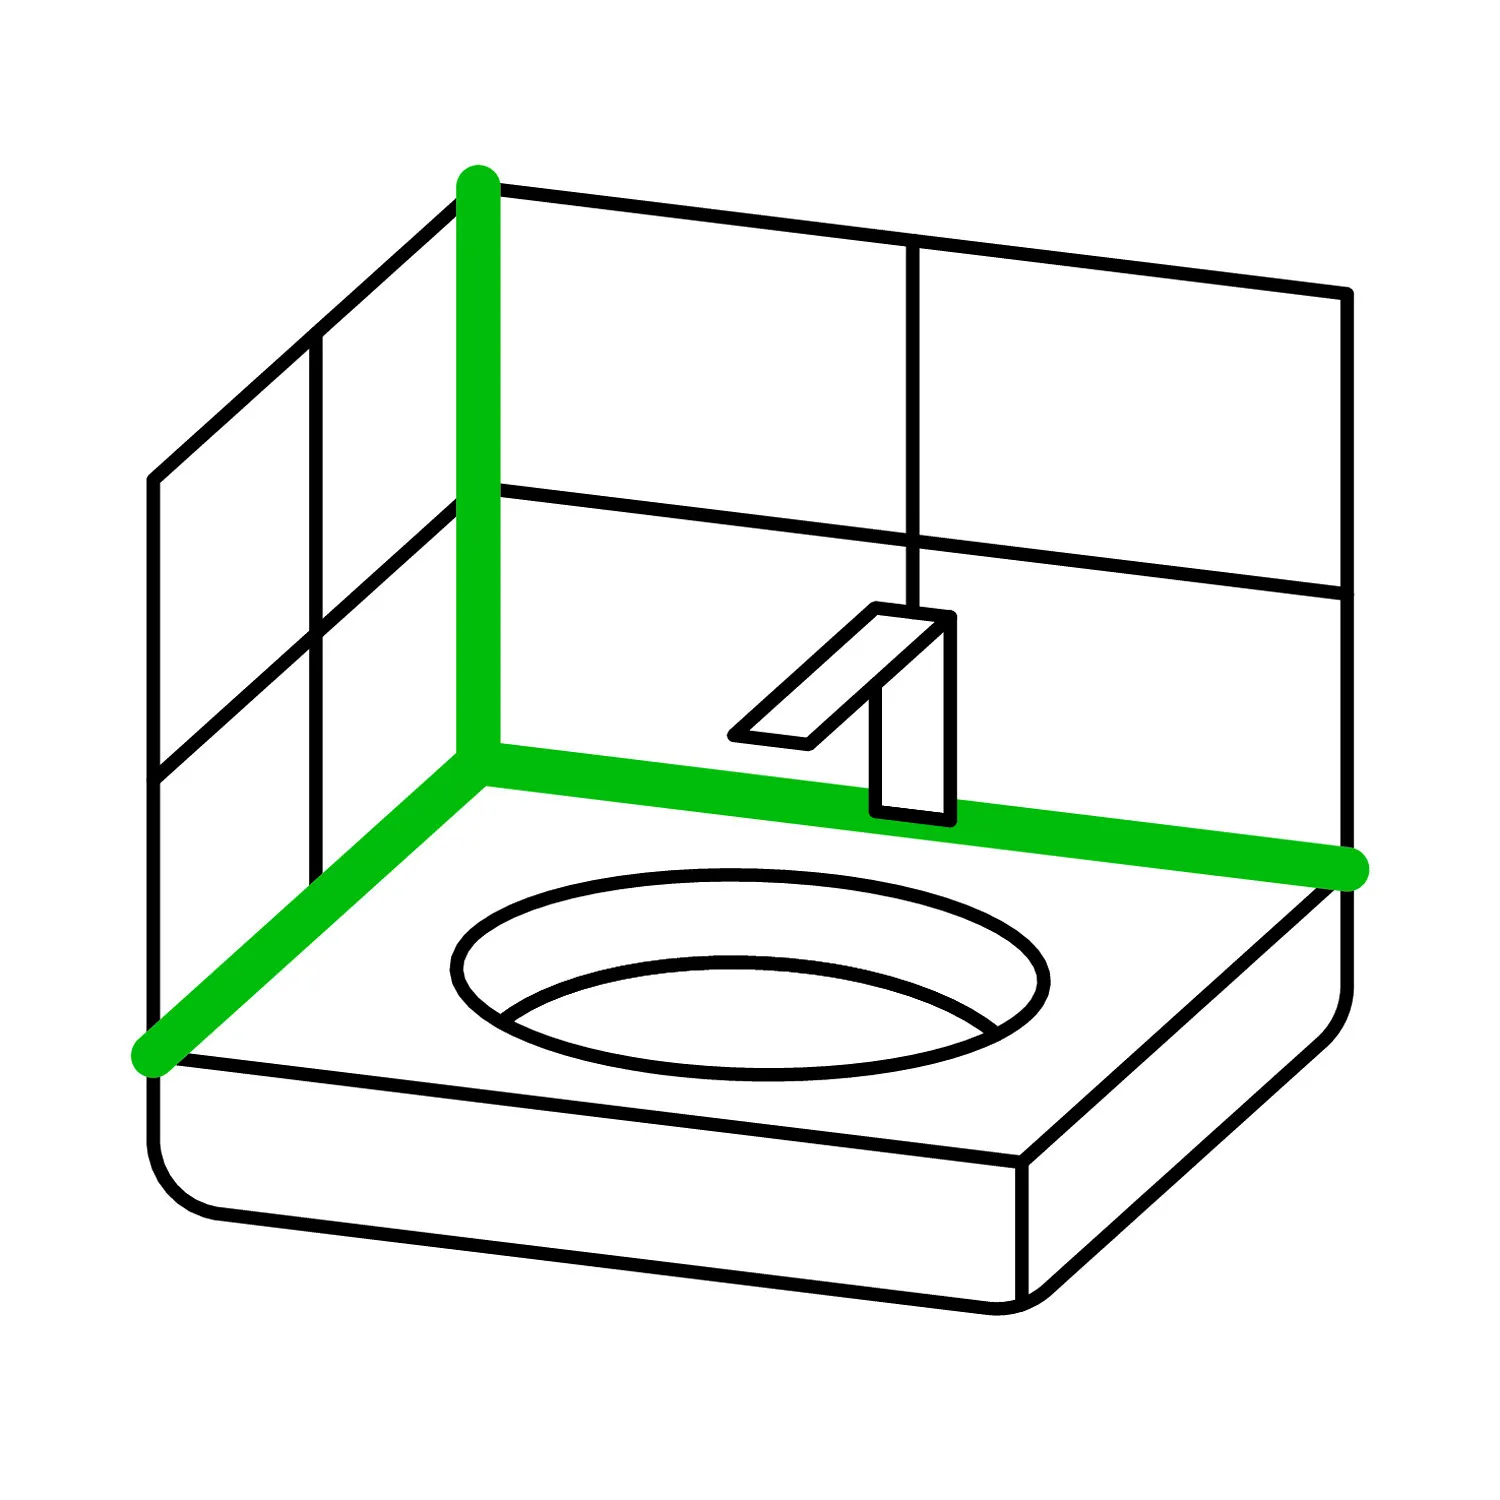
1Clean the substrate and mask the edges
The bonding faces have to be clean, free of grease, dry and sound. Clean non-porous substrates such as tiles or glass with OTTO Cleaner T (flash-off time approx. 1 minute) and wipe over with a clean, lint-free cloth. Free porous substrates from loose particles mechanically, e.g. with a wire brush or grinding disc.
Mask the edges: mask both sides along the desired joint width with masking tape. That gives straight, even edges and protects the adjoining surfaces from silicone and smoothing agent residue.
2Cut the cartridge and inject the silicone
Cut the cartridge nozzle at a slant at a 45° angle; the size of the opening depends on the desired joint width. Apply with a hand-operated gun, pneumatic gun or cordless gun. Observe the application temperature: +5 °C to +35 °C.
Work quickly and without interruption – better to overfill the joint slightly than to leave gaps. If touching up is done on spots that are already drying, that visibly worsens the surface.
3Apply smoothing agent
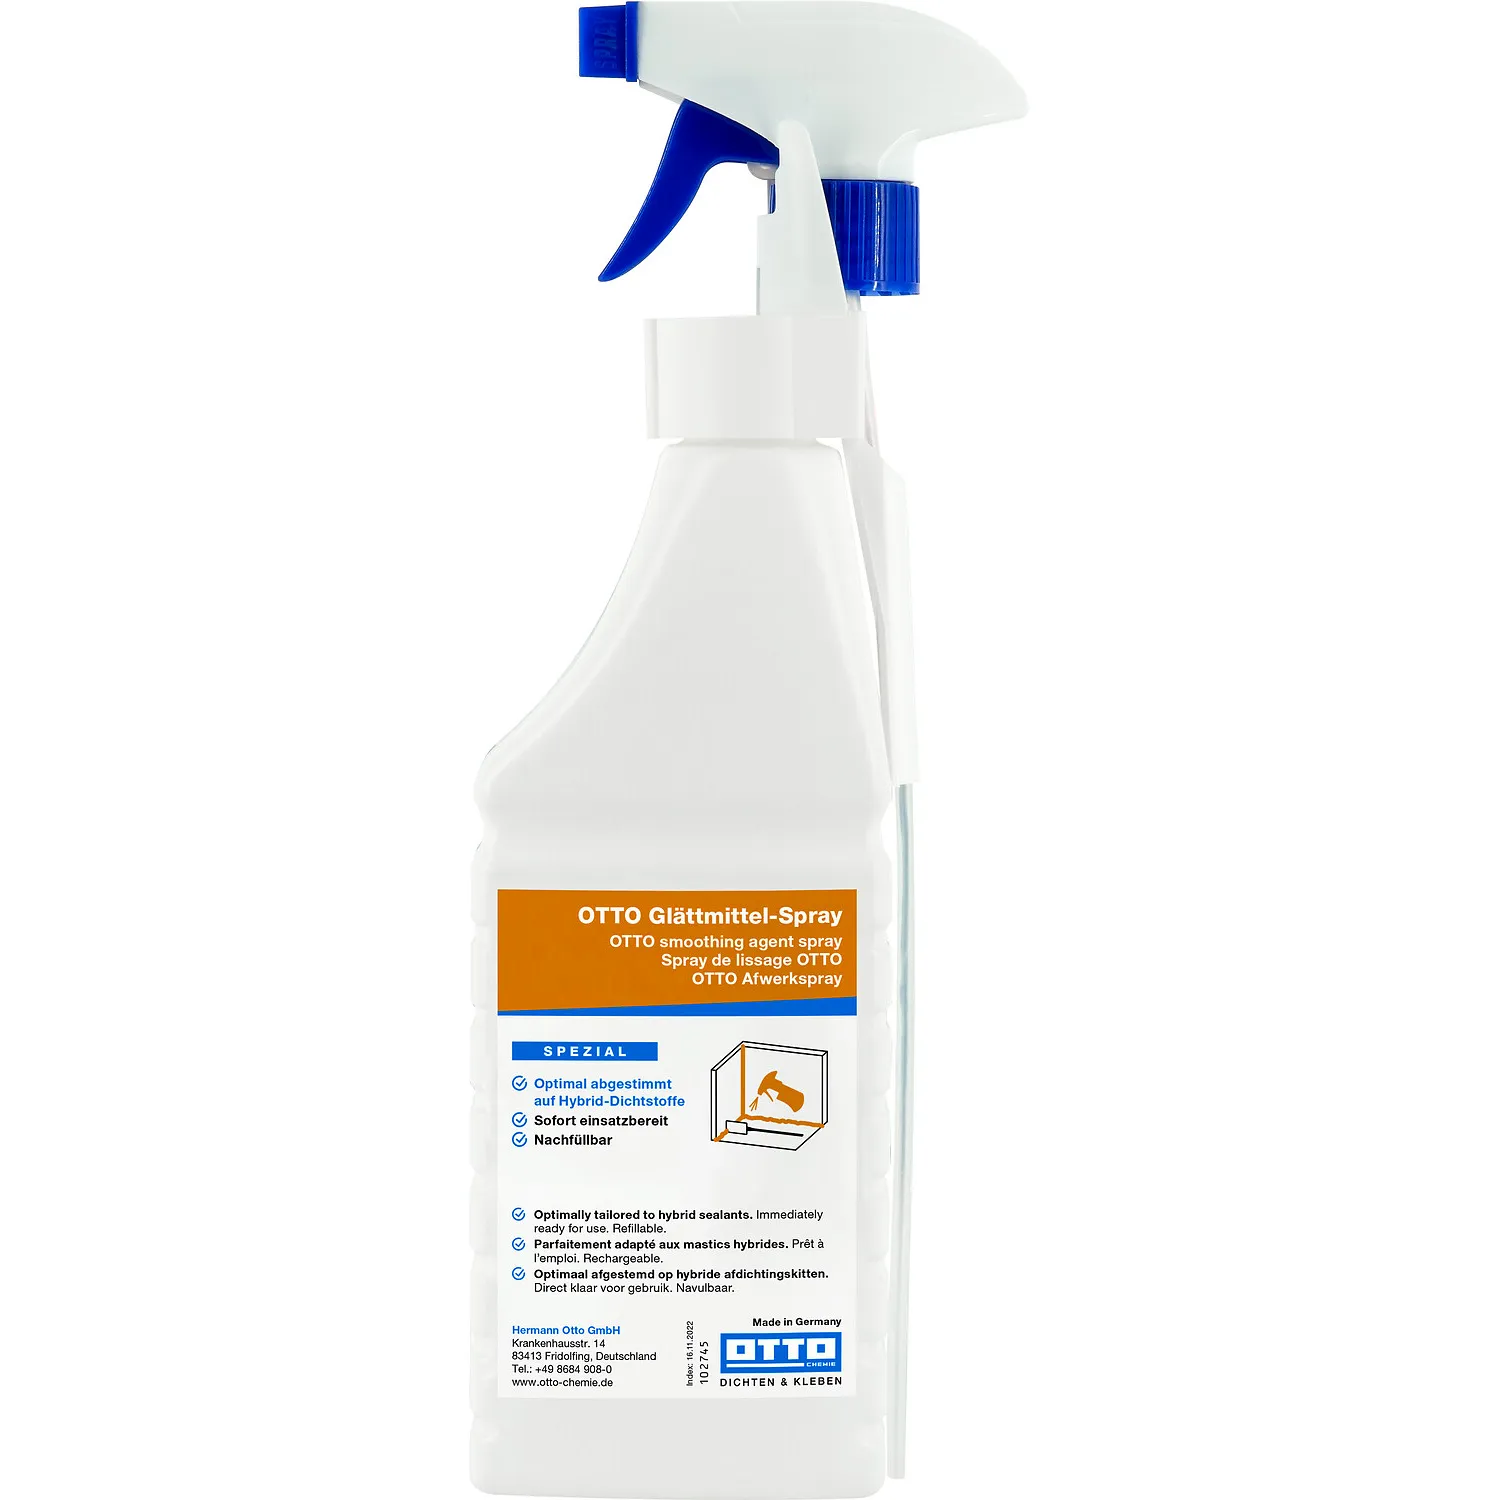
Spray Otto smoothing agent spray as sparingly and as targeted as possible onto the fresh silicone surface, wetting the smoothing tool only lightly in the process – not dripping.
Important with natural stone: According to the manufacturer, the standard smoothing agent is not suitable for marble and other natural stones and can cause stains. Always use the special natural stone smoothing agent here, undiluted.
4Smooth the joint in one stroke
Pull the joint off in one continuous stroke with the joint smoother, keeping an even contact pressure and not starting again several times – every new start stays behind as a visible line in the joint.
Timing is decisive: always smooth before the silicone forms a skin. How long this window is depends on temperature and humidity – so work immediately after injecting, without a pause.
5Remove excess
Immediately pull off excess silicone with the spatula and dispose of it, do not leave it lying on the joint. Wash smoothing agent residue off the joint and the adjoining surfaces with clear water before it dries on – if it dries on, matt or pale spots can be left behind.
Clean the tool straight after use: fresh silicone can be removed with white spirit, silicone that has already cured only with silicone remover or mechanically.
6Pull off the tape and let it cure
Pull off the masking tape immediately after smoothing, before the silicone starts to set – in one pull and at an acute angle to the joint. That keeps the edges sharp and clean instead of fraying when pulled off.
Then let the joint cure undisturbed before it is exposed to water, cleaning agents or mechanical load. For the exact curing time see the manufacturer's information on the cartridge.
Time windows at a glance
| Work step | Time window | Check |
|---|---|---|
| Inject silicone → smooth | without interruption, before a skin forms | Surface still looks glossy and wet |
| Smooth → pull off tape | immediately afterwards | Joint edge comes cleanly away from the tape when pulled off |
| Before first contact with water | let it cure completely (observe the manufacturer's information on the cartridge) | Joint feels dry everywhere and no longer tacky |
Common mistakes – and how to avoid them
- Too much smoothing agent used: It dries on and leaves matt, pale spots on the joint – always spray on sparingly and remove residue with clear water before it dries on.
- Wrong smoothing agent on natural stone: Standard smoothing agent is not suitable for marble and natural stone – always use the special natural stone smoothing agent here.
- Started again several times instead of smoothing in one stroke: Produces visible starting points and grooves in the joint surface.
- Tape pulled off too late: The silicone that has already set tears away with it when pulled off, and the edges become untidy.
- Substrate not prepared clean and free of grease: The silicone does not adhere permanently, and the joint can come away prematurely.
Frequently asked questions about smoothing a silicone joint
How long do I have to smooth the silicone joint?
You have to smooth the joint before the silicone forms a skin. How long this window is depends on temperature and humidity – so work quickly and without interruption directly after injecting.
Which smoothing agent is suitable for natural stone or marble?
The special natural stone smoothing agent is suitable for marble and other natural stones. According to the manufacturer, the standard smoothing agent is not suitable for these substrates and can cause stains.
Why does my joint get matt spots?
Usually too much smoothing agent was used and it has dried on. Residue has to be removed with clear water before it dries on, otherwise matt or pale spots can be left behind.
When do I pull off the masking tape?
Immediately after smoothing, before the silicone starts to set – in one pull and at an acute angle to the joint so that the edges stay clean and sharp.
Is washing-up liquid enough instead of smoothing agent?
Many DIYers make do with a washing-up liquid solution. A smoothing agent matched specifically to sealants, however, gives more even results and, according to the manufacturer, does not wash out the colour pigments of the silicone.
Which tool is suitable for smoothing the joint?
A special joint smoother made of flexible, chemical-resistant plastic, usable from +5 °C to +40 °C, suitable for silicone, acrylic and hybrid joints and reusable many times.


