

The short answer: RAL window installation seals the connection joint according to the 3-level rule: airtight on the inside, thermally insulating and fixing in the middle, driving-rain-tight and vapour-permeable on the outside. In practice a pre-compressed compression tape such as Ottotape Trio FBA takes over all three functional zones in one product, the frame is additionally fixed at defined points with 2K PU assembly foam, and the visible outer joint is resealed with Ottoseal S730. These instructions take you through the professional installation in 7 steps.

What you need: shopping list
Basic set (always required)
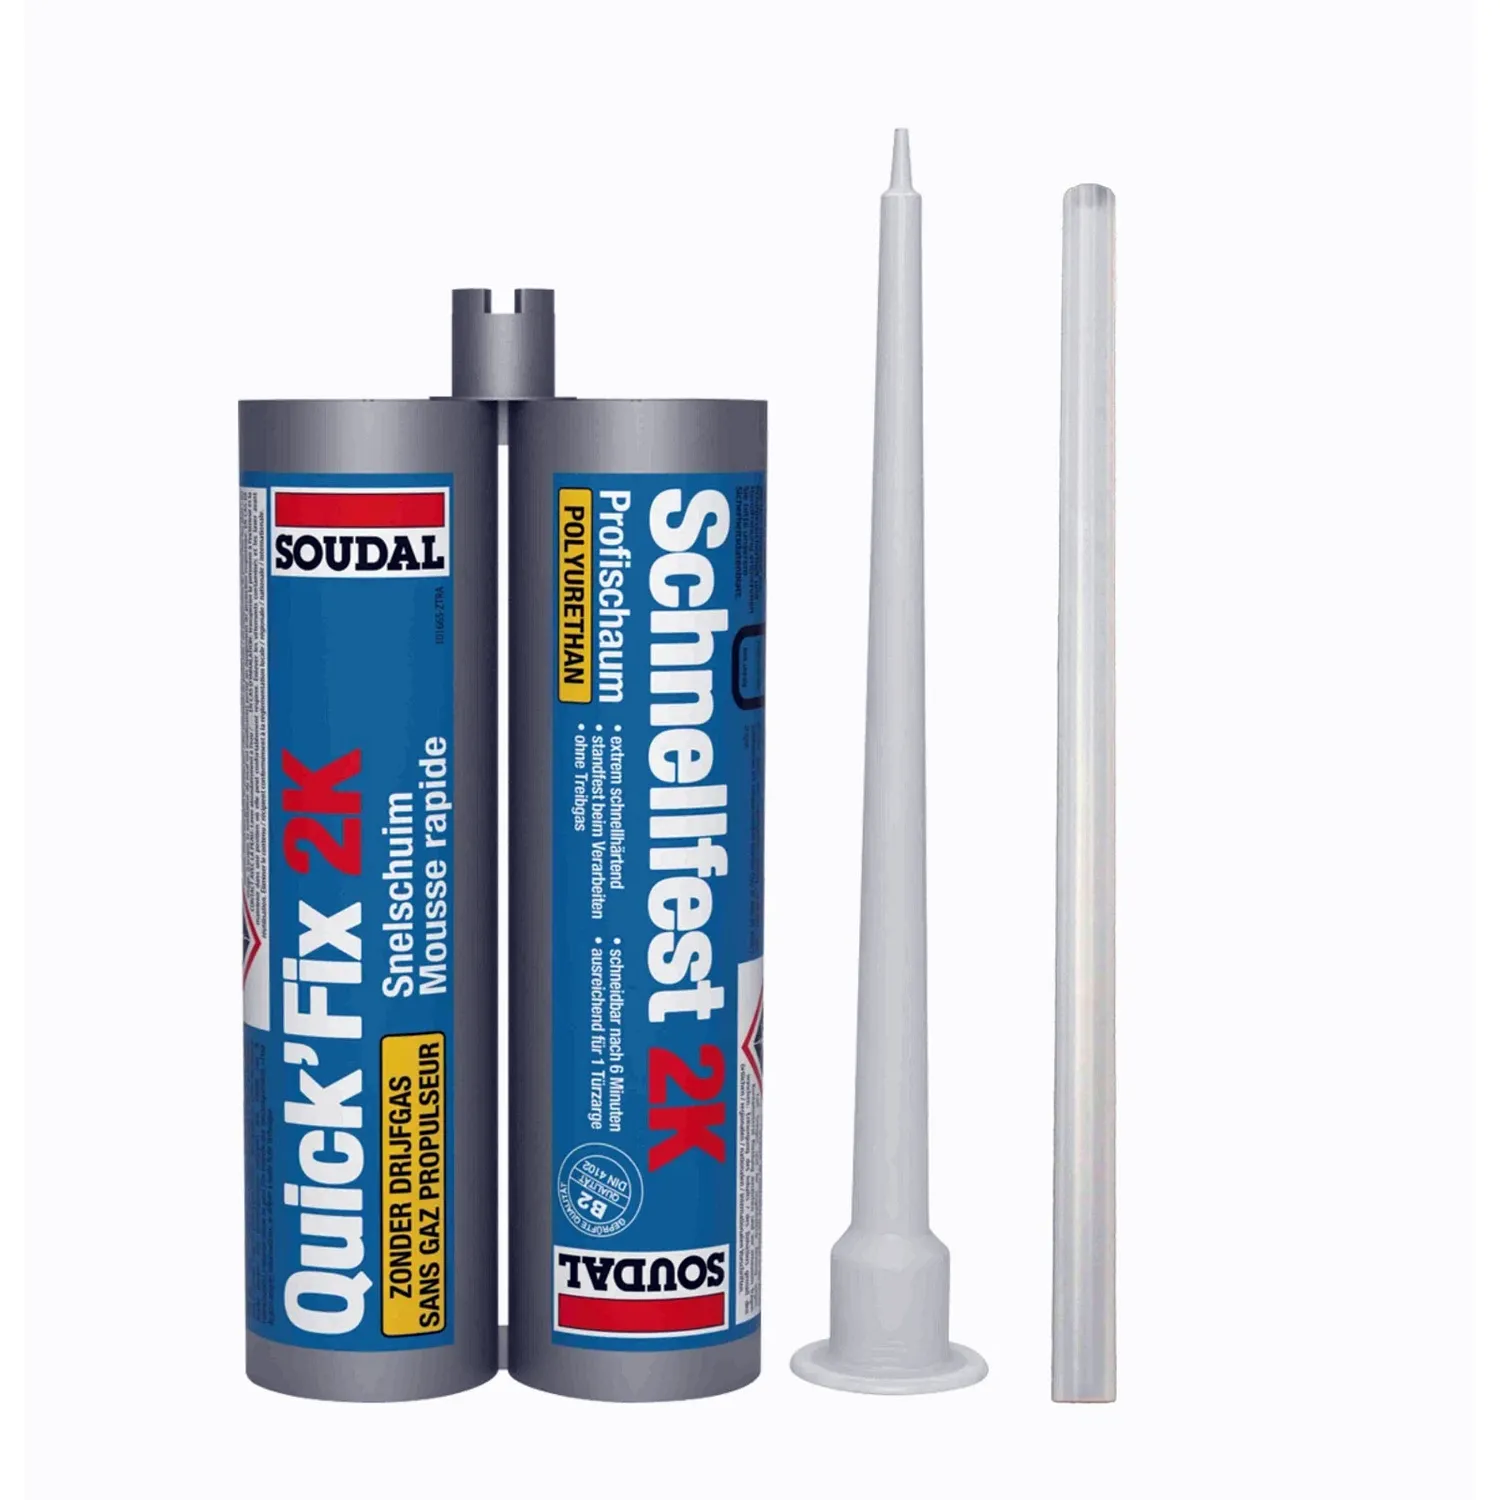

Optional – depending on the installation situation
- Ottotape Trio BKA MF1 – wider compression tape (64–84 mm) for larger joint widths of 6–15 or 10–20 mm, e.g. with large-format elements
- ISO-Bloco ONE RAL installation tape – alternative brand with a larger coverage range, joint width 3–30 mm depending on tape size (54–82 mm)
- Teroson AD SP foil adhesive – only needed if plasterable sealing membrane systems are additionally bonded to the structure
Tools: utility knife, pressure roller or gloves for pressing on the compression tape, 2K cartridge gun with static mixer for the assembly foam, cartridge gun and joint smoother for the silicone, spirit level, spacer blocks / wedges and folding rule. You will find all system components in the category Compression tape.
Why RAL installation according to the 3-level rule?
A joint simply foamed with PU foam is neither permanently airtight nor driving-rain-tight – foam alone takes on only the mechanical fixing and thermal insulation, no defined sealing function. RAL installation therefore divides the connection joint into three levels: on the inside as vapour-tight as possible (prevents room moisture from penetrating the joint), in the middle thermally insulating, on the outside more vapour-permeable and driving-rain-tight (so that residual moisture that has got in can dry out to the outside again).
The Ottotape Trio FBA compression tape reproduces these three functional zones in one single, pre-compressed tape and has been tested to DIN 18542 with BG1/BG2 certification; the thermal insulation corresponds to EnEV/DIN 4108. Driving-rain tightness is up to 1,050 Pa, temperature resistance extends from −30 °C to +80 °C. The PU assembly foam additionally takes over the point fixing of the frame in the opening, but does not replace the functional levels of the compression tape.

Step by step: installing a window by RAL installation
1Prepare the connection joint and frame
The reveal has to be sound, clean, and free of dust and grease. Check the existing joint width at several points around the opening – it decides the suitable tape width: Ottotape Trio FBA covers 6–15 mm, the wider BKA MF1 also 10–20 mm. The window frame itself has to be dry and free of release agents, as otherwise the compression tape does not adhere reliably.
2Stick the compression tape onto the frame
Choose the Ottotape Trio FBA to match the measured joint width and stick it without tension all the way round onto the outer edge of the frame. Lay tape butt joints neatly against each other, do not stretch at corners. The application temperature is +5 °C to +35 °C – outside this range the adhesive on the tape edge does not adhere reliably.

3Insert the window, align it and wedge it
Lift the window into the opening and position it with spacer blocks on the structural reveal. Align it plumb and level with the spirit level, and also measure the diagonals – only a frame aligned exactly on the diagonals can later be fixed cleanly and closes without tension.
4Fix the frame with PU assembly foam
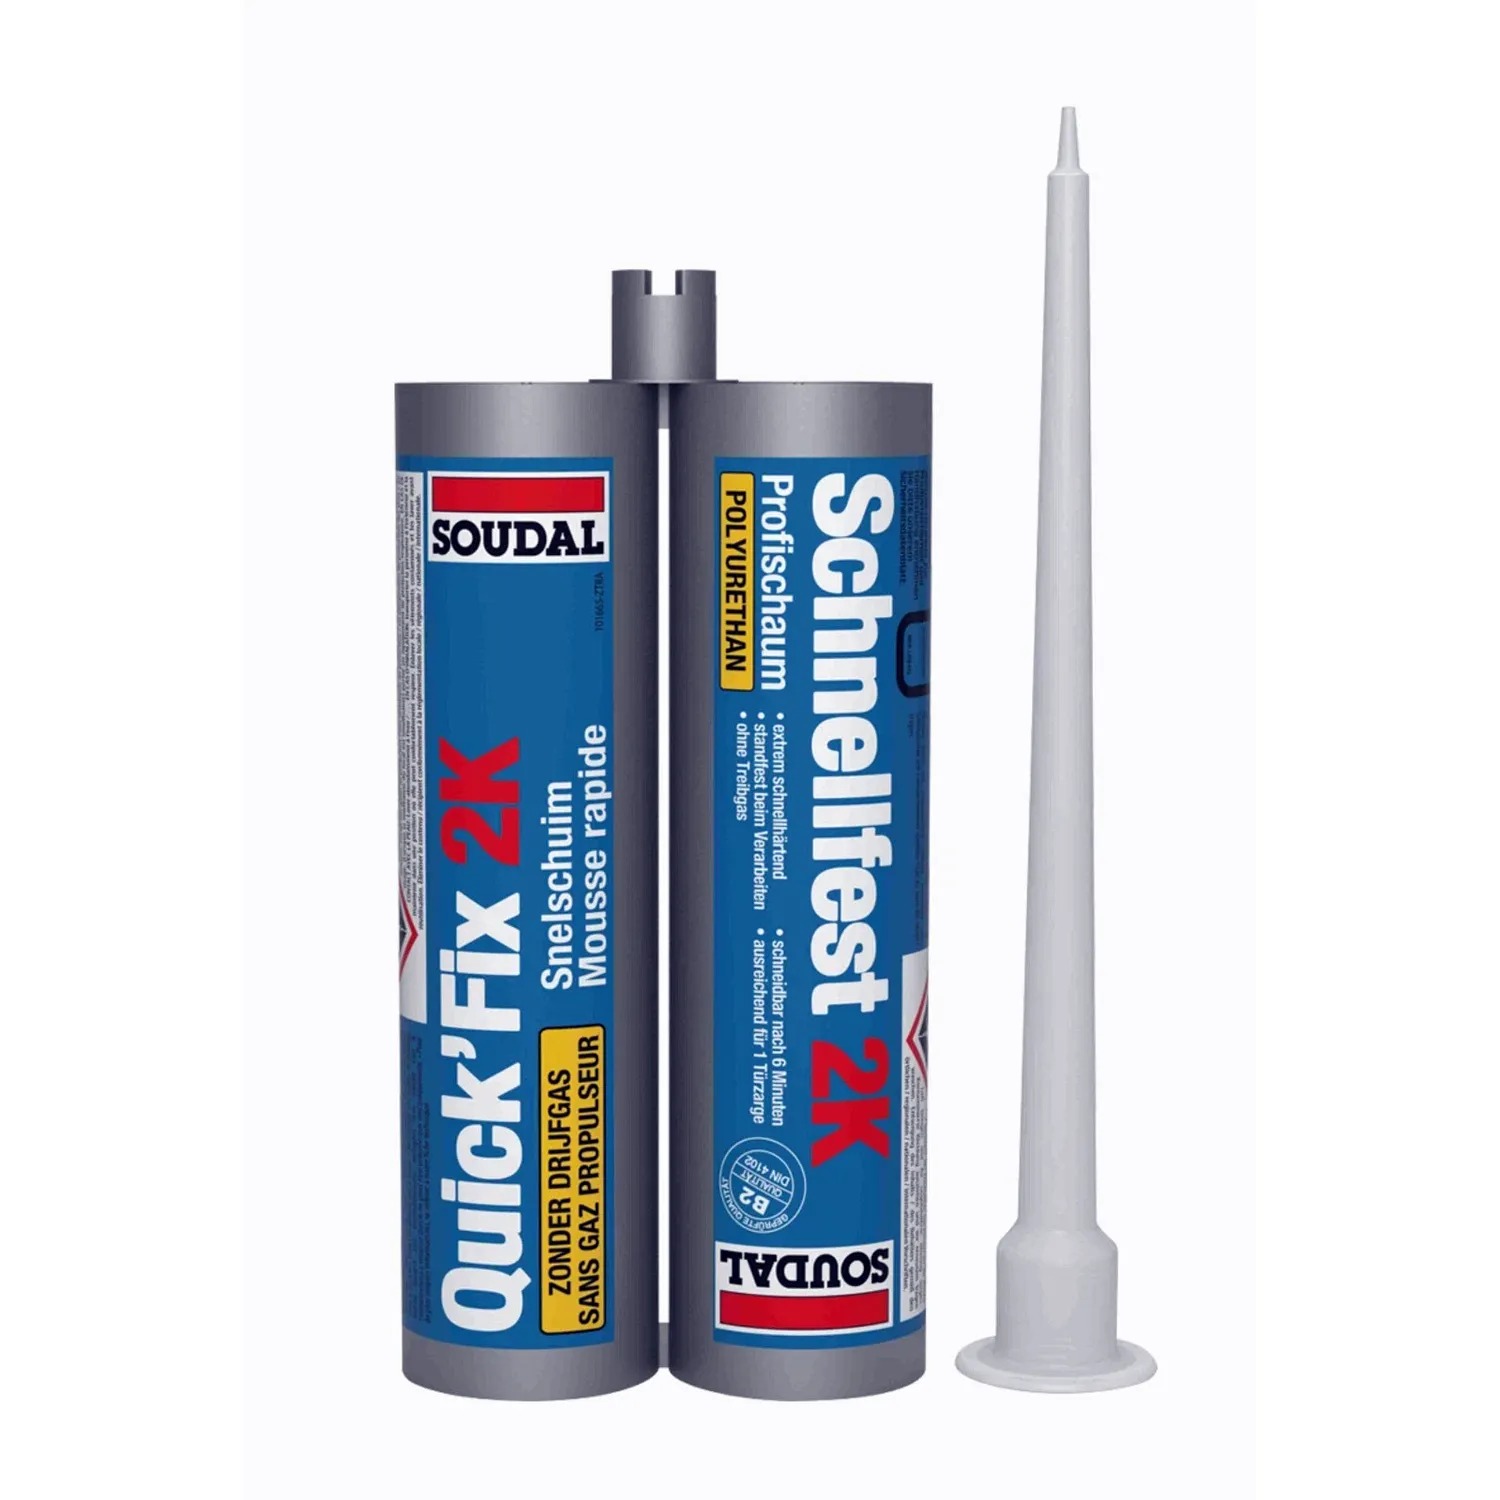
On the aligned frame, set at least 6 fixing points distributed evenly (analogous to the recommendation for door frames). Apply the Soudal 2K PU assembly foam with the 2K cartridge gun and static mixer. Application temperature +10 °C to +30 °C, start time approx. 12–15 seconds, tack-free after approx. 1 minute. Pauses over 10 seconds cure the foam in the mixer – work quickly and change the static mixer if there is an interruption. You will find detailed step-by-step instructions for application in our guide Applying PU foam correctly.
5Let the compression tape decompress and check it
After installation the compression tape expands by itself and fills the joint completely – no drying time is needed for that. Check by visual inspection along the whole joint whether the tape sits without gaps and whether there are no voids or areas that are compressed too much. If necessary press it on again with the pressure roller.
6Reseal the outer joint with Ottoseal S730
For a clean, visible finish at the plaster connection and at corners, reseal the joint with Ottoseal S730. The neutral-curing, MEKO-free 1K silicone sealant is developed specifically for driving-rain-tight and vapour-permeable exterior sealing after RAL installation, has fungicidal additives and accepts paint to DIN 52452. Clean and dry the substrate, apply evenly and smooth. Why silicone rather than acrylic is used at this point is explained by our guide Silicone or acrylic – which for what?

7Final check
Open and close the window several times to check that the frame sits without tension and does not jam. Inspect the diagonals and the stop seal once more visually, and put the silicone joint under mechanical load only after the skin has fully formed.
Curing and checking times at a glance
| Material | Time | Check |
|---|---|---|
| PU assembly foam: tack-free | approx. 1 minute | Surface no longer tacky |
| PU assembly foam: cuttable | approx. 5 minutes | Cut into it with a knife |
| PU assembly foam: bracing can be removed (+20 °C/65 % r.h.) | approx. 20 minutes | Wedges can be loosened |
| Compression tape: decompression | no drying time needed | Visual inspection: joint filled without gaps |
| Ottoseal S730 (silicone): skin formation | approx. 2–3 mm per 24 hours | Surface no longer tacky |
Common mistakes – and how to avoid them
- PU foam used as the sole seal: Foam fixes and insulates, but does not replace the airtight-inside and driving-rain-tight-outside functional level of the compression tape.
- Wrong tape width chosen: If the joint is wider than the specification of the tape, the compression tape stays too little compressed and does not seal reliably – then switch to a wider tape such as Ottotape Trio BKA MF1 or ISO-Bloco ONE.
- Frame not aligned on the diagonals: A distorted frame produces stresses that make windows jam and load the sealing points.
- Fixing foam applied too slowly: Pauses over 10 seconds cure the foam in the static mixer – change the mixer if there is an interruption, otherwise the cartridge blocks.
- Compression tape joints overlapped instead of butted: Overlaps produce bulges that reduce the joint filling at that spot and favour leaks.
Frequently asked questions about RAL window installation
What does RAL installation mean for windows?
RAL installation describes the sealing of the connection joint according to the 3-level rule: airtight on the inside, thermally insulating and fixing in the middle, driving-rain-tight and vapour-permeable on the outside, so that moisture can dry out to the outside.
Why is PU assembly foam alone not enough?
PU foam takes over the point fixing of the frame and the thermal insulation, but no defined, tested air and driving-rain tightness – for that a compression tape or a membrane / sealant system is additionally needed.
Which tape width suits my joint width?
Ottotape Trio FBA (30/35 mm) covers joint widths of 6–15 mm, Ottotape Trio BKA MF1 (64–84 mm) also 10–20 mm for larger elements, ISO-Bloco ONE (54–82 mm) 3–30 mm depending on tape size.
How long does the PU assembly foam have to cure before I can carry on working?
The Soudal 2K PU assembly foam is cuttable after approx. 5 minutes and can have its bracing removed after approx. 20 minutes (at +20 °C/65 % r.h.), after which the spacer blocks can be removed.
Do I additionally need Teroson AD SP foil adhesive?
Only if plasterable sealing membrane systems are additionally bonded to the structure, for example at the transition to the facade insulation. With a pure compression tape installation it is not strictly required.
How many fixing points does a window frame need?
Analogous to the application recommendation for door frames, at least 6 fixing points, distributed evenly around the frame and aligned on the diagonals before foaming.


