
Silicone joint turning yellow – causes and solution

Contents
- Step 1: Diagnosis – is the discolouration on or in the joint?
- The five most common causes in detail
- Solution A: Clean the joint (discolouration sits on top)
- Solution B: Replace the joint (discolouration sits in the material)
- Which silicone for the new joint?
- How to prevent new yellowing
- Frequently asked questions
What you need
Project template “Renew the silicone joint in the bathroom”Short answer: In most cases a yellow silicone joint is not a material defect but a deposit on the joint – soap and grease film, lime soap, tobacco smoke or residues of care products. Discolouration like this can be cleaned off. If the discolouration is in the material, however (mould beneath the surface, outgassing from adjoining components, plasticiser migration), only a complete replacement of the joint helps. The fingernail scratch test tells both cases apart in seconds.
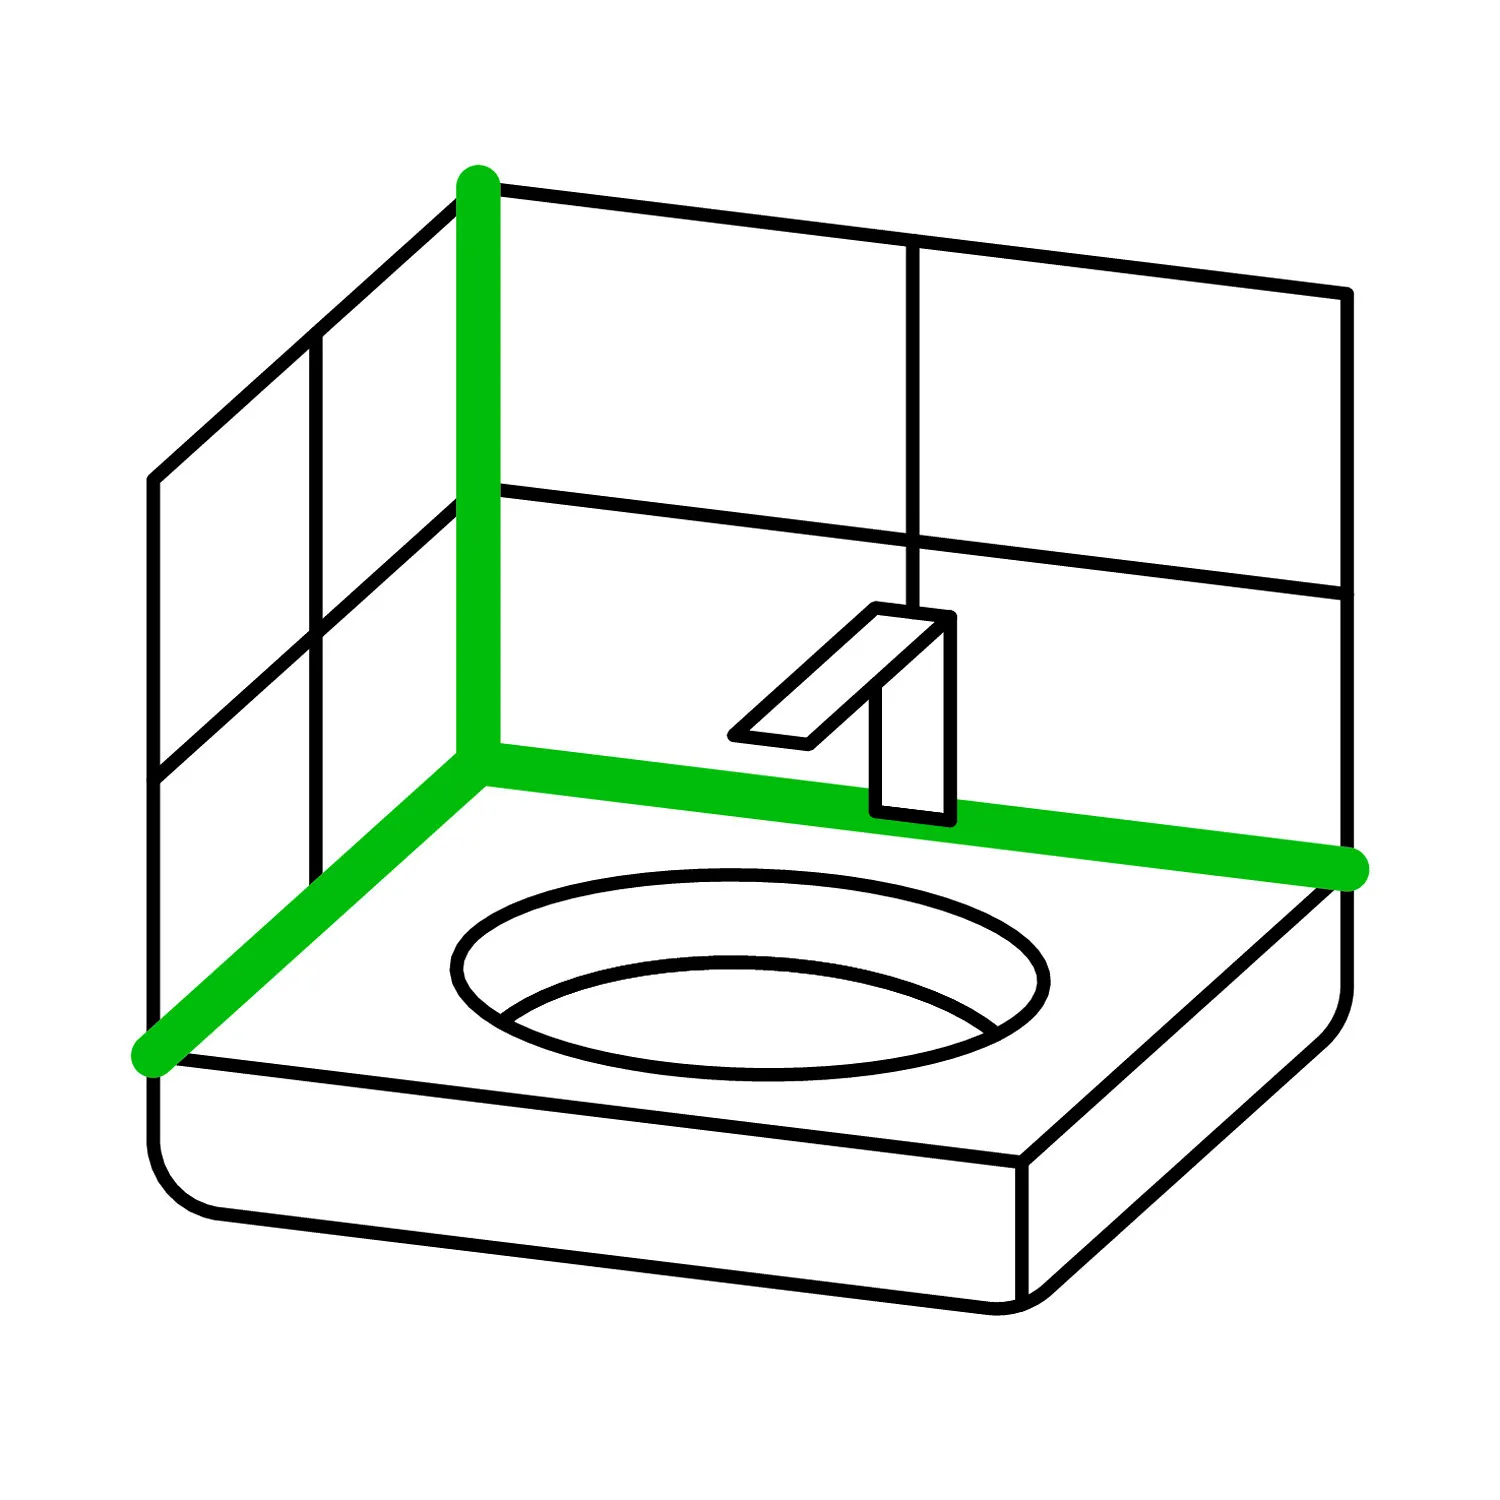
Step 1: Diagnosis – is the discolouration on or in the joint?
Before you reach for a cleaner or a cartridge, do the scratch test: run your fingernail or a plastic card firmly over the discoloured spot. If a yellowish film lifts off or the strip underneath is clearly lighter, the discolouration is on the surface. If the colour tone stays unchanged, the silicone itself is discoloured all the way through.
| Finding | Probable cause | Action |
|---|---|---|
| Yellowish film can be lifted off, light underneath | Soap, grease or care-product film | Clean – the joint stays in |
| Evenly yellow-brown, entire joint, often in kitchens or smokers' homes | Tobacco smoke and similar environmental influences | Try cleaning, otherwise replace |
| Yellow to black in spots, with dark clusters | Mould, partly beneath the surface | Replace the joint completely |
| Yellow streaks along the joint, present since installation | Water streaks from the smoothing agent that were not removed | Usually permanent – replace |
| Discolouration exactly where the joint meets gaskets, insulation or paint coatings | Incompatible neighbouring material, plasticiser migration | Replace, plus separate the materials |
The five most common causes in detail
1. Soap, grease and lime-soap film
Shower gel, shampoo, hand soap and body oils combine with the lime in tap water and settle on the joint as a tough film. Over time this film yellows and is often mistaken for “broken silicone”. It is the most common cause – and the only one that can be fixed without changing the material.
2. Tobacco smoke and environmental influences
In its technical note on OTTOSEAL S125, OTTO Chemie expressly points out: “Heavy exposure to tobacco smoke and similar environmental influences can lead to discolouration of the sealant.” This affects every silicone – regardless of price and manufacturer. In kitchens, cooking fats and cooking vapours add to it.
3. Mould – first yellow, then black
Mould does not always show up black straight away. Incipient infestation often appears as a yellowish or reddish discolouration with blurred edges. The decisive point: once the mycelium has penetrated the joint surface, it can no longer be cleaned off. How to get infestation under control for good is explained in the guide Preventing and removing mould in silicone joints.
4. Water streaks from the smoothing agent
An application error that only becomes noticeable weeks later. OTTO Chemie writes: “When a smoothing agent is used, any water streaks that form must be removed immediately after sealing. If cleaning takes place at a later point, permanent streaks may remain.” These streaks pick up dirt and later show up as yellow longitudinal stripes.
5. Incompatible neighbouring materials
According to the manufacturer's note, the user must make sure that all materials in the contact area – solid, liquid and gaseous – are compatible with the sealant and do not discolour it. This also includes outgassing from materials installed later. Specifically, direct contact with bituminous and plasticiser-releasing materials such as butyl, EPDM, neoprene as well as insulating and black coatings is to be avoided. The plasticisers migrate into the silicone and discolour it permanently yellow to brownish.
Solution A: Clean the joint (discolouration sits on top)
Loosen the soap film with a soft brush and warm water. Do not use abrasives or steel wool – every score in the silicone surface becomes a new place for dirt to collect.
If yellow clusters remain, fungal infestation is usually behind them. The OTTO anti-mould spray is sprayed directly onto the infestation from a distance of 5–10 cm – without scrubbing beforehand. In case of heavy infestation, repeat after 10 minutes.
Then rinse elastic joints and tiles off with plenty of water. Otherwise residues of the active ingredient would themselves bind dirt again. A 500 ml bottle covers around 16 m².
If the joint is evenly light again after drying, it was purely surface dirt. If it stays yellow, go to Solution B – further scrubbing only damages the surface.
Important note: The bleaching effect of the anti-mould spray can discolour sensitive wallpaper, carpets, textiles and wood. Test it beforehand on an inconspicuous sample area.
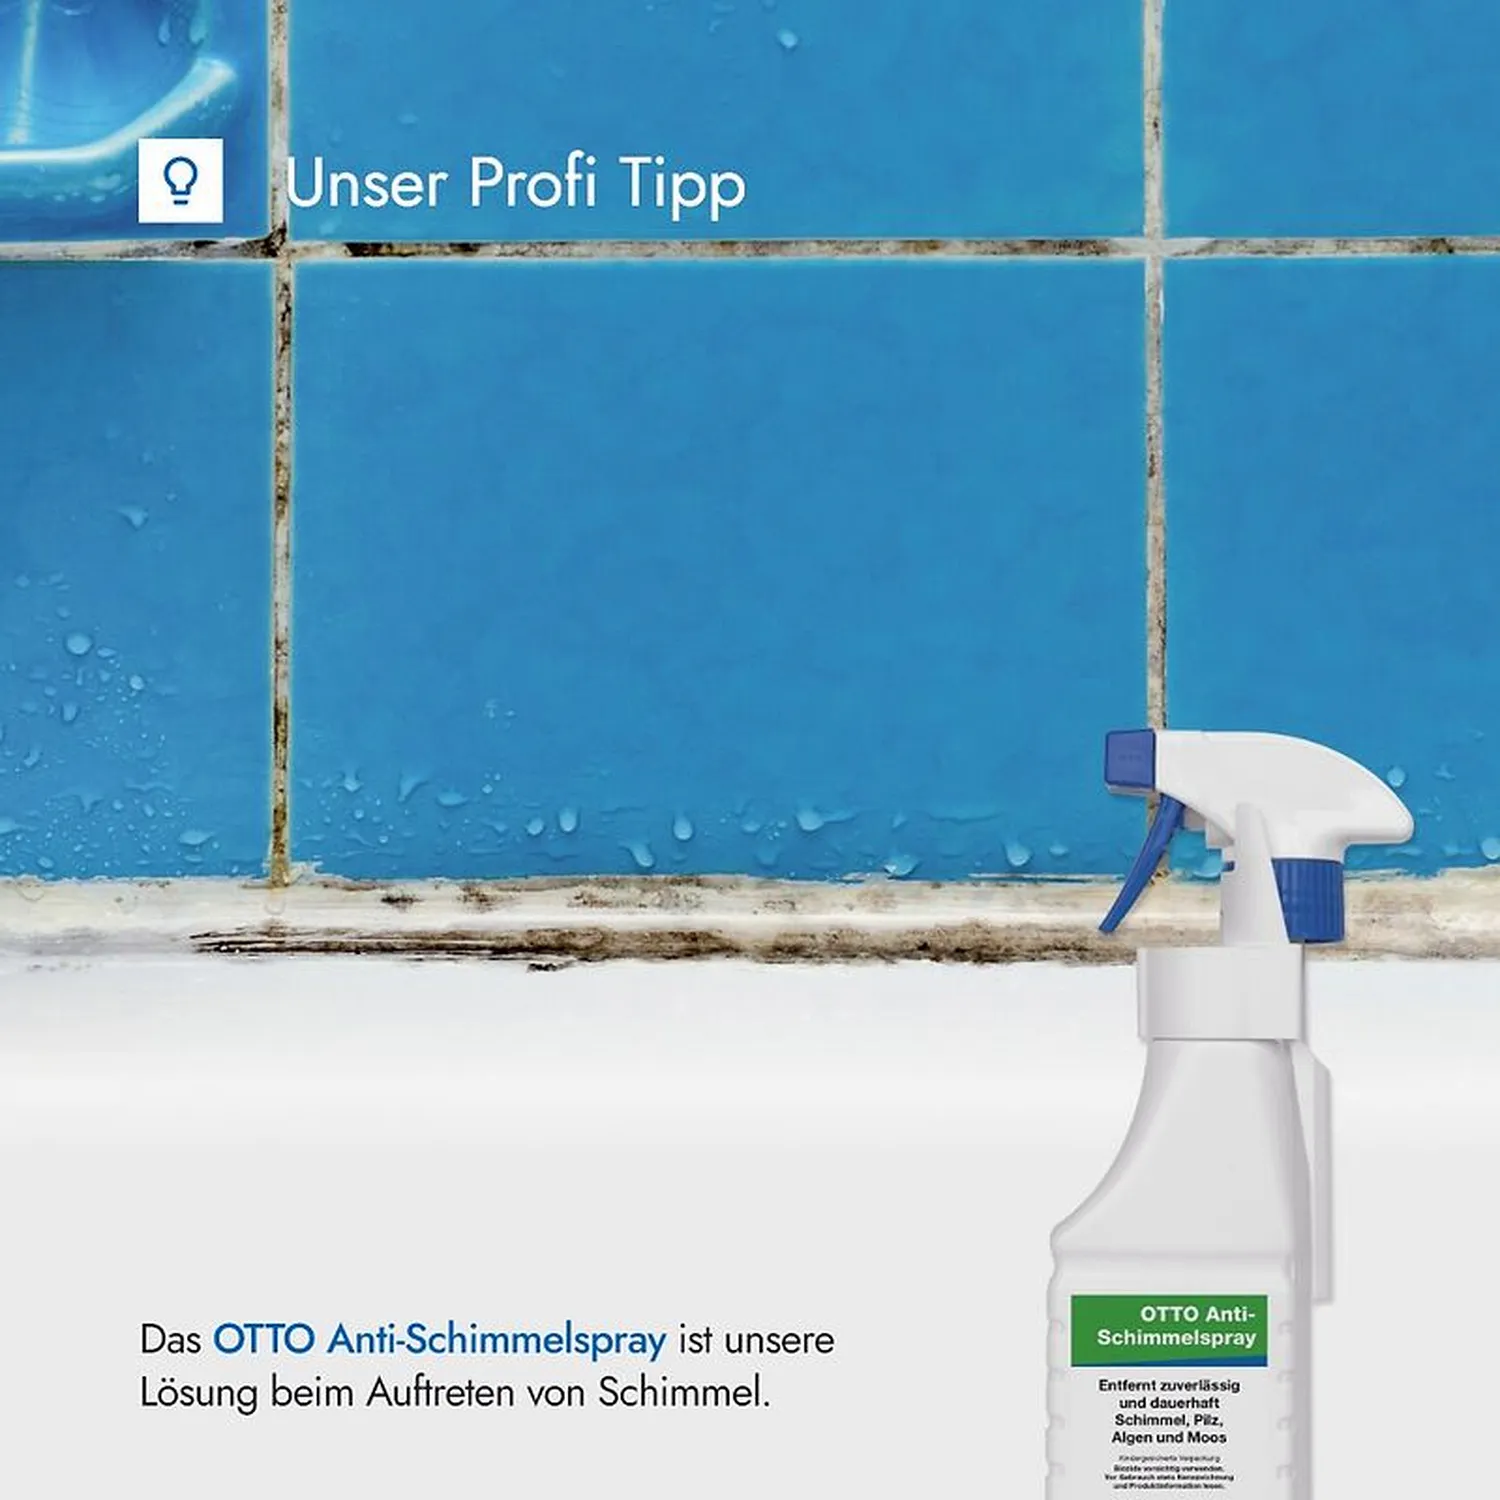
Solution B: Replace the joint (discolouration sits in the material)
With silicone that is discoloured all the way through, mould beneath the surface or plasticiser migration, there is no way around re-jointing. This is not a stopgap: a properly applied joint lasts many years under normal use.
Cut the joint out roughly with a sharp knife, then apply the Soudal silicone remover to the residues with the supplied brush, leave it to act for approx. 10 minutes and scrape it off with the spatula. The substrate must be dry for this – contact with water deactivates the active ingredients. The process can be repeated, but let it dry completely in between.
Check: Run your fingernail along the joint flanks. Nothing rubbery may lift off any more. Described in detail in the guide Removing old silicone without residue.
If the old joint was infested with mould, the affected areas must be treated with anti-mould spray before re-jointing to eliminate any remaining fungal spores. OTTO Chemie is clear on this: without this step, infestation can return very quickly despite the fungicidal finish of the new sealant.
The bonding surfaces must be clean, free of grease, dry and sound. Clean non-porous substrates such as tiles with OTTO Cleaner T and a clean, lint-free cloth – flash-off time approx. 1 minute. Clean porous substrates of loose particles mechanically, for example with a steel brush or grinding disc.
Application temperature +5 °C to +35 °C. Dispense the cartridge evenly with a manual, compressed-air or battery-powered gun and smooth it before skin formation with smoothing agent and a finishing spatula.
Critical point against later yellowing: Remove water streaks from the smoothing agent immediately after sealing. Later, permanent streaks remain. Fresh silicone residues can be taken off with white spirit before curing, afterwards only with silicone remover or mechanically.
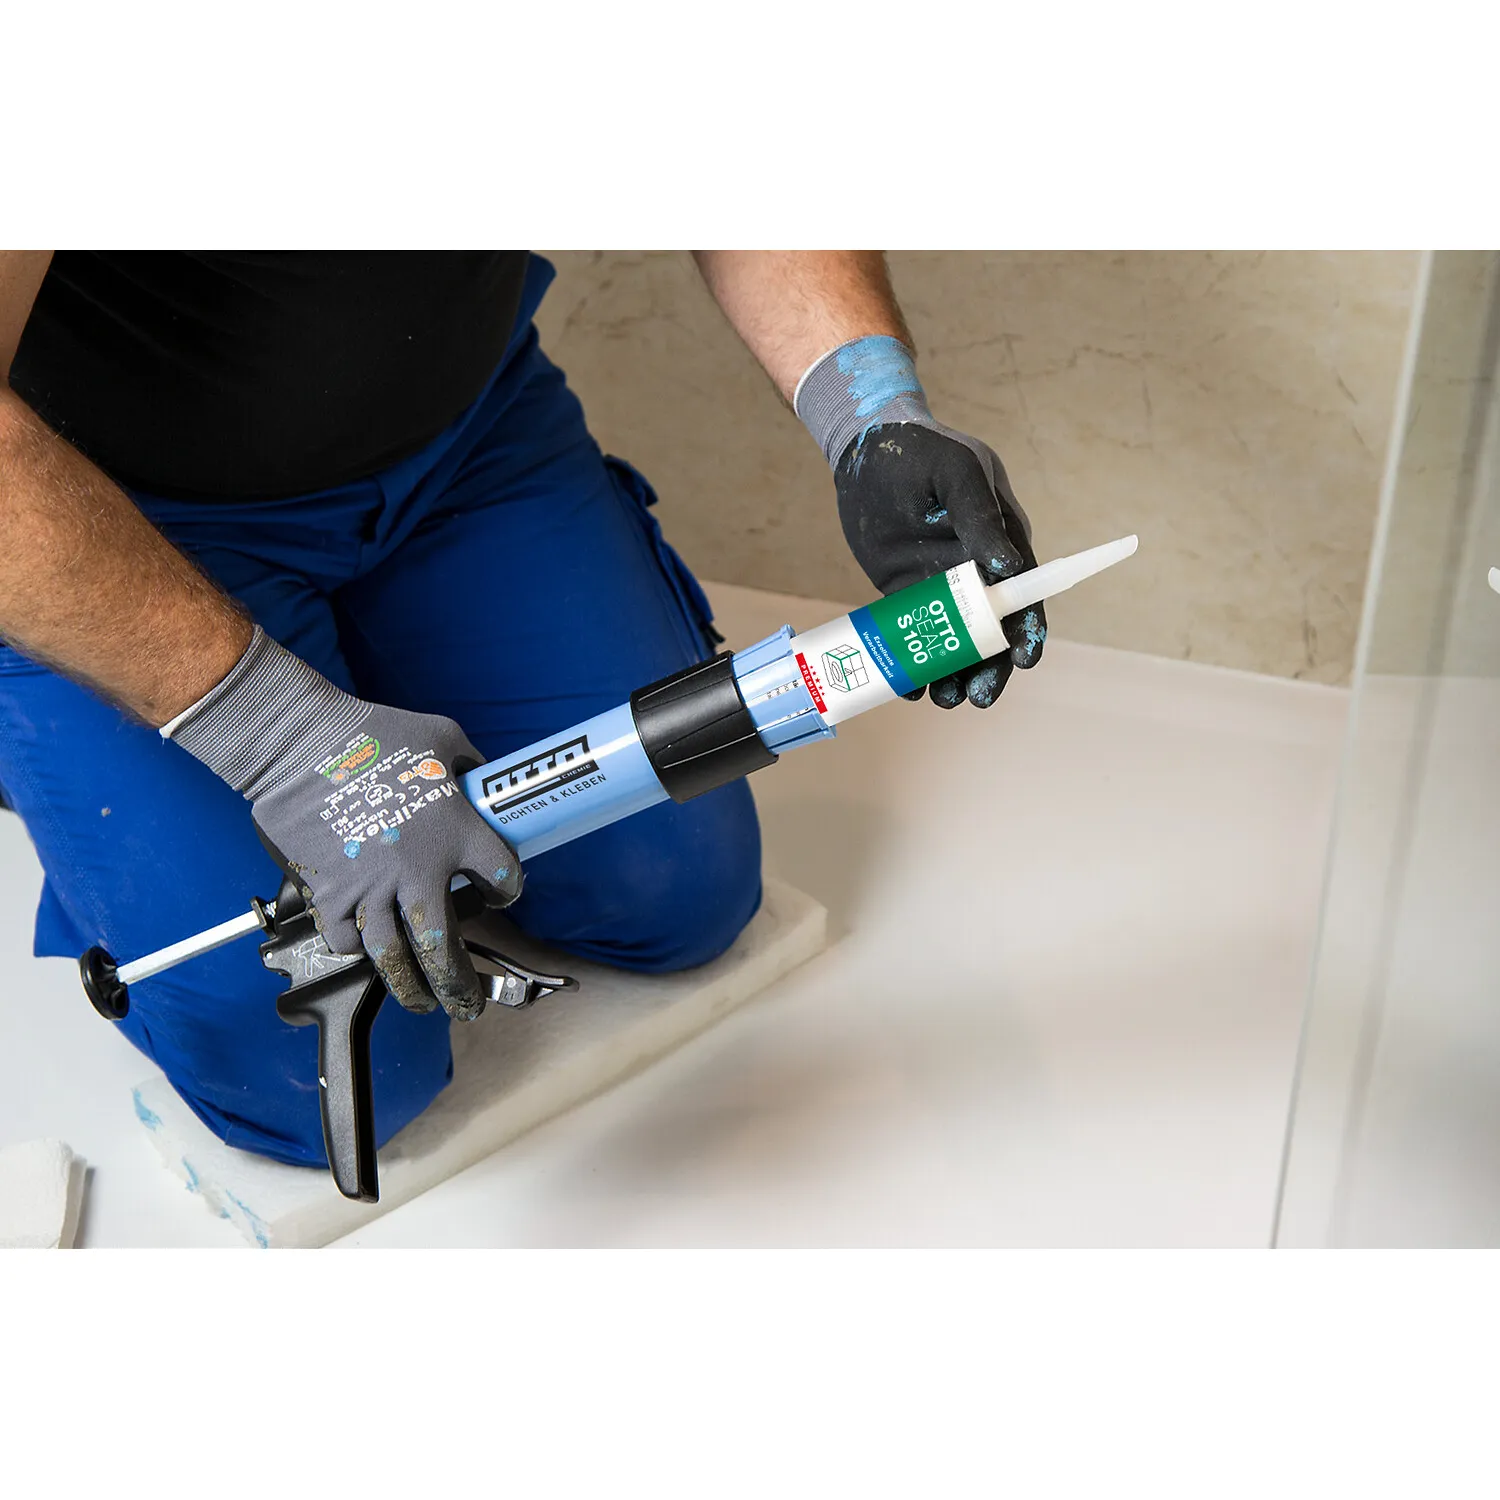
You will find the complete procedure, including joint dimensions and drying times, in the guide: Replacing sanitary silicone – step by step.
Which silicone for the new joint?
No silicone is absolutely free of yellowing – what matters is resistance to ageing and UV as well as the fungicidal finish. These three products cover the typical cases:
| Product | Curing system | Key properties | Suitable for |
|---|---|---|---|
| OTTOSEAL S100 | Acetate | Very good resistance to weathering, ageing and UV; fungicidal and bacteriostatic; DIN 18545 Part 2 Gr. E; TOXPROOF (TÜV Rheinland); excellent smoothability | Shower, bathtub, washbasin – when the joint is to stay clean for a long time |
| OTTOSEAL S105 | Acetate | Fungicidal, resistant to mould growth; EN 15651-1 F EXT-INT CC 25 LM; EMICODE EC 1 Plus; VOC class A+ | Expansion and connection joints in bathroom, WC and kitchen, good value for money |
| OTTOSEAL S125 | Alkoxy (neutral) | Low odour, non-corrosive, fungicidal, very good resistance to weathering, ageing and UV | Connections to metal, windows and sensitive substrates where acetic acid is a problem |
A direct comparison of both sanitary variants is in the guide OTTOSEAL S100 vs. S105 in detail. You will find the complete range in the category Sanitary silicone.
View sanitary silicone in the shop
How to prevent new yellowing
- Rinse and squeegee after showering. Soap residues are the raw material of every yellow film. Rinsing with cold water and a squeegee take 20 seconds.
- Air the room instead of tilting the window. Briefly airing with the window wide open gets the moisture out faster than a permanently tilted window and keeps the joint dry.
- No scouring cream, no aggressive long-term treatment. Roughened silicone surfaces pick up dirt many times faster.
- Check material contact. Butyl, EPDM, neoprene, insulating and black coatings do not belong in direct contact with the silicone joint.
- In kitchens and smokers' homes, choose the colour deliberately. A slightly grey or beige tone masks unavoidable smoke and grease exposure much longer than pure white.
Frequently asked questions
Is a yellow silicone joint automatically mould?
No. The most common cause is a soap and grease film on the surface. You can recognise mould by its blurred, spot-like clusters, which often turn reddish or black and cannot be wiped off.
Can I simply paint over or spray over a yellowed joint?
No. New silicone does not adhere permanently to old silicone, and with transparent or light products the discolouration shows through again. The old joint must come out completely.
Why does transparent silicone in particular yellow so quickly?
Transparent joints lack the opaque pigment. Every deposit, every haze and every discolouration of the substrate becomes directly visible. In heavily stressed areas a pigmented colour tone is the more durable choice.
Does vinegar or chlorine cleaner help against the discolouration?
Common household products only attack the soap film superficially and, with frequent use, can roughen the silicone surface. For fungal infestation, an anti-mould spray developed for the purpose is the more reliable and gentler-on-the-material solution.
How long does a new sanitary joint last before it yellows again?
That depends almost entirely on use, ventilation and cleaning. A high-quality, fungicidally finished sanitary silicone with very good ageing resistance stays clean considerably longer with good care than a simple DIY-store sealant.
Do I have to replace the tile grout as well when renewing?
No, the cement-bound tile grout normally stays in place. Only the elastic connection or expansion joint made of silicone is replaced.
Not sure which case applies to you? Give us a call: Baustoffheld, Lindenstrasse 56, 47623 Kevelaer, phone +49 (0) 2831 - 916 77 03.
More guides on this topic
All guides on “Problems with silicone joints” Instructions
Guide: cleaning silicone joints – what helps and what harms
Clean silicone joints properly: scratch test, household remedy check and deep clean
 Problem solving
Guide: preventing and removing mould in silicone joints
Remove mould from silicone joints, when the joint has to be renewed and how to prevent it
 Problem solving
Guide: silicone joint is pulling away from the wall – causes and fix
Why silicone joints come away from tile, bath or frame and how the new joint holds