

The short answer: Cut into the old silicone joint on both sides with the cutter and pull it out, dissolve residue with silicone remover, let the joint dry completely, mask both sides with tape, inject new sanitary silicone evenly and immediately smooth it with the joint smoother. Pull off the tape straight away, then let it cure. Pure working time: 30–60 minutes per joint, plus the drying and curing time.
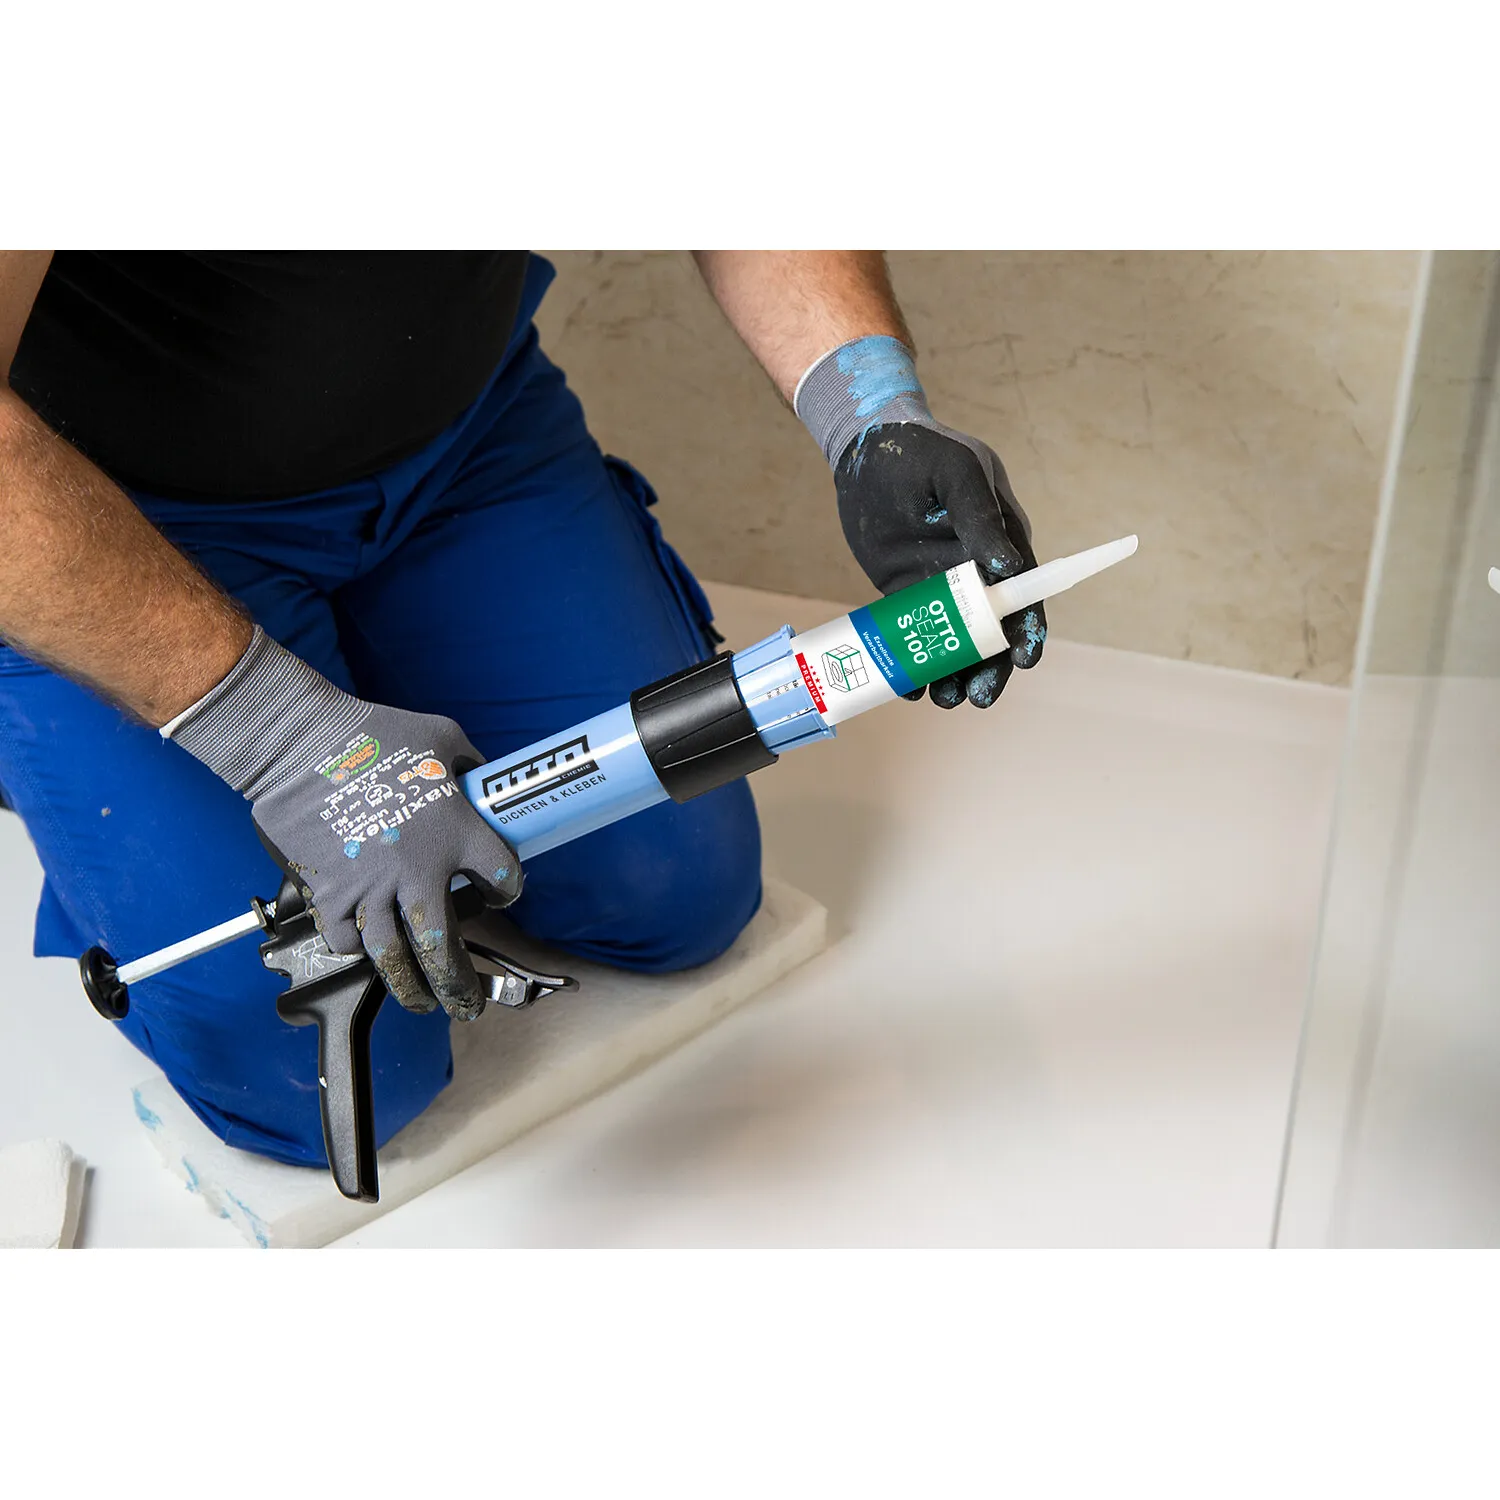
What you need: shopping list
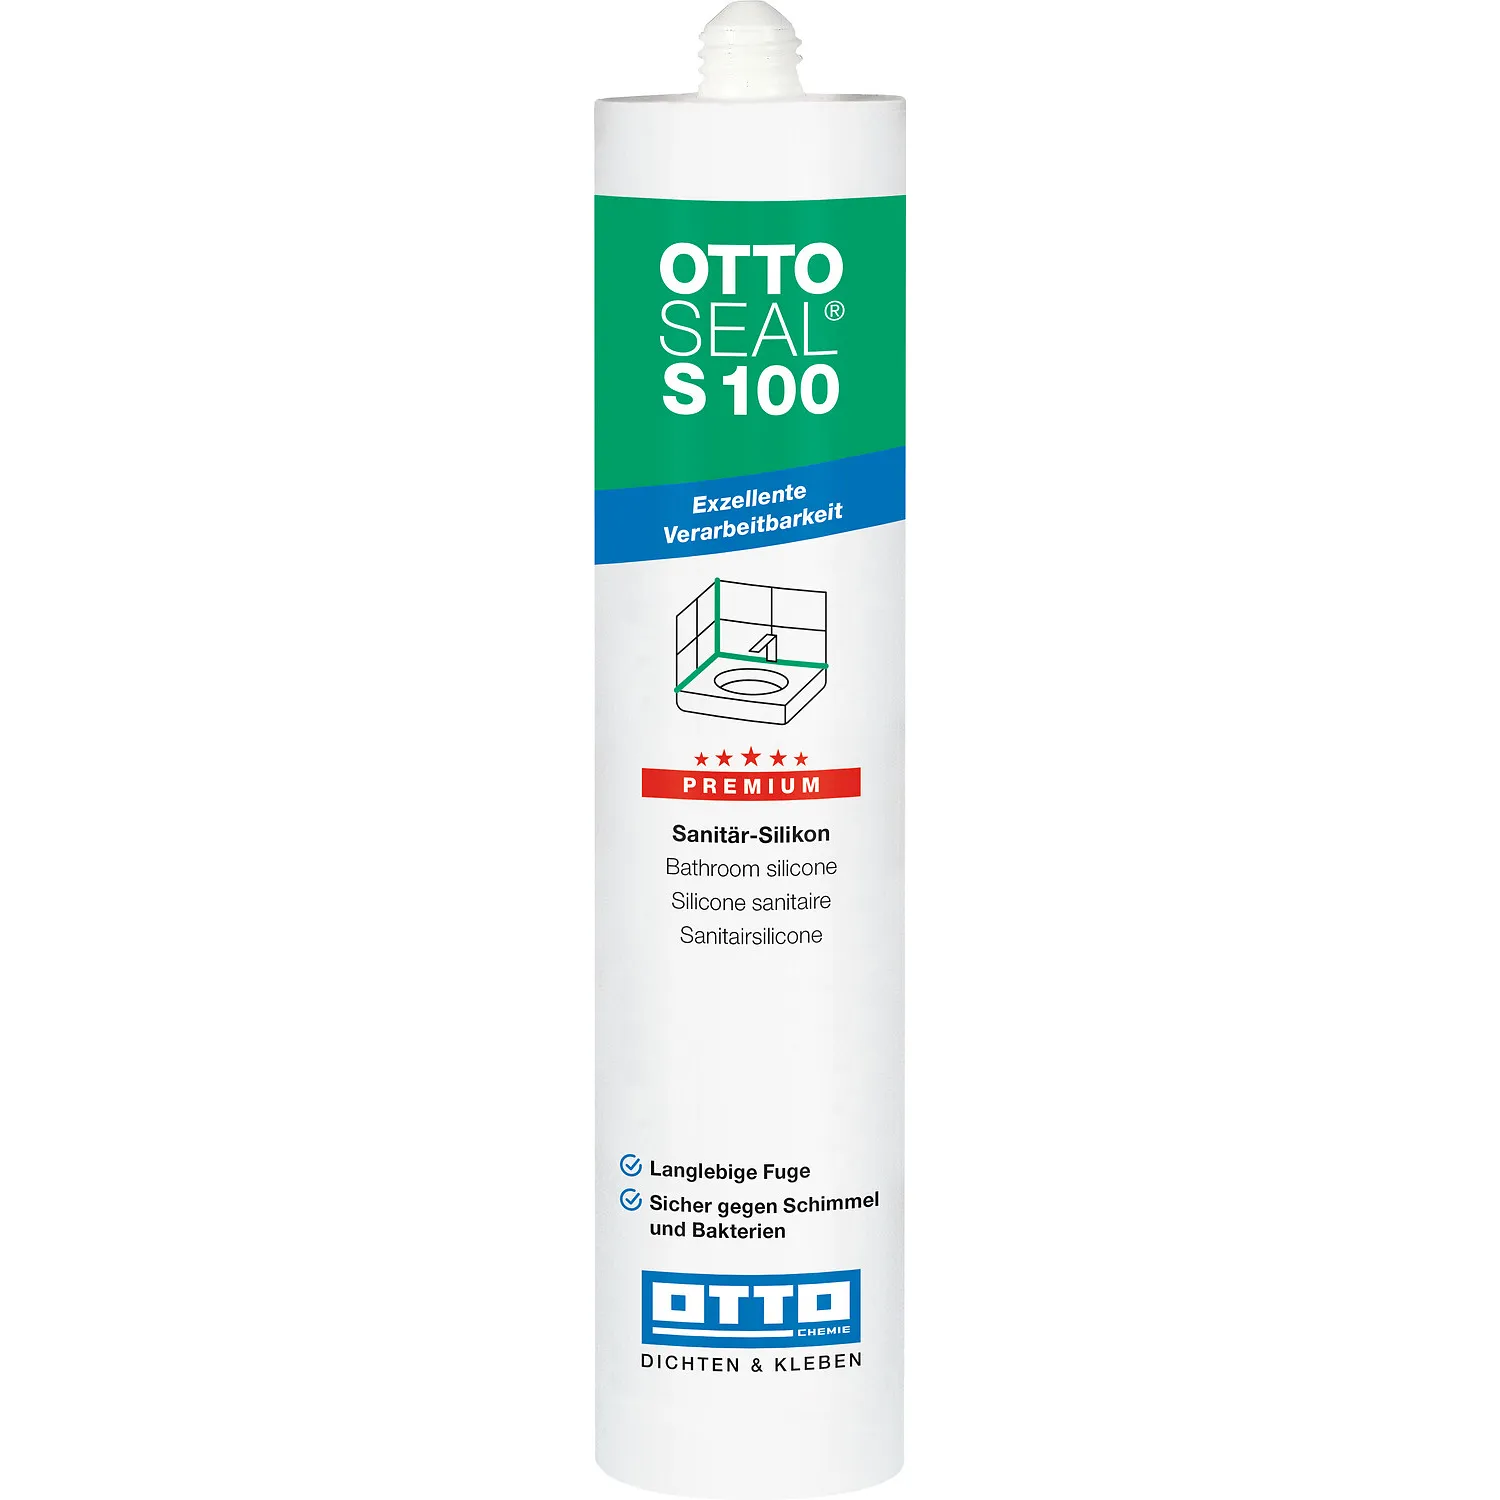
Basic set (always required)


Optional – depending on the installation situation
- Fugenmeister joint spatula set (3-piece) – dimensionally stable templates for corner, connection and movement joints, an alternative or supplement to the joint smoother
- OTTO Primer 1227 adhesion promoter – needed only on smooth plastic / PVC surfaces (e.g. shower trays, acrylic bathtubs), improves the adhesion of the silicone
Tools: utility knife or joint scraper for removing the old joint, hand-operated press gun (cartridge gun) for applying the new silicone, lint-free cloth for cleaning and touching up. You will find all system components in the category sanitary silicone.
Why renew the joint completely rather than just applying over it?
Sanitary silicone is permanently elastic, but not unlimited in its durability: soap residue, standing water and UV light make the joint brittle over time, it cracks or comes away from the substrate. It is precisely at these spots that moisture takes hold – an ideal breeding ground for mould.
Simply applying new silicone over the old joint does not solve the problem: fresh silicone does not adhere reliably to cured silicone, and the new layer usually comes away again within a short time. That is why the old joint has to be removed completely down to the substrate before resealing. Ottoseal S100 additionally has fungicidal and bacteriostatic additives, complies with DIN 18545 part 2, group E, and is suitable for applications in accordance with IVD data sheet no. 3 – the basis for a joint that lasts considerably longer than a mere touch-up.
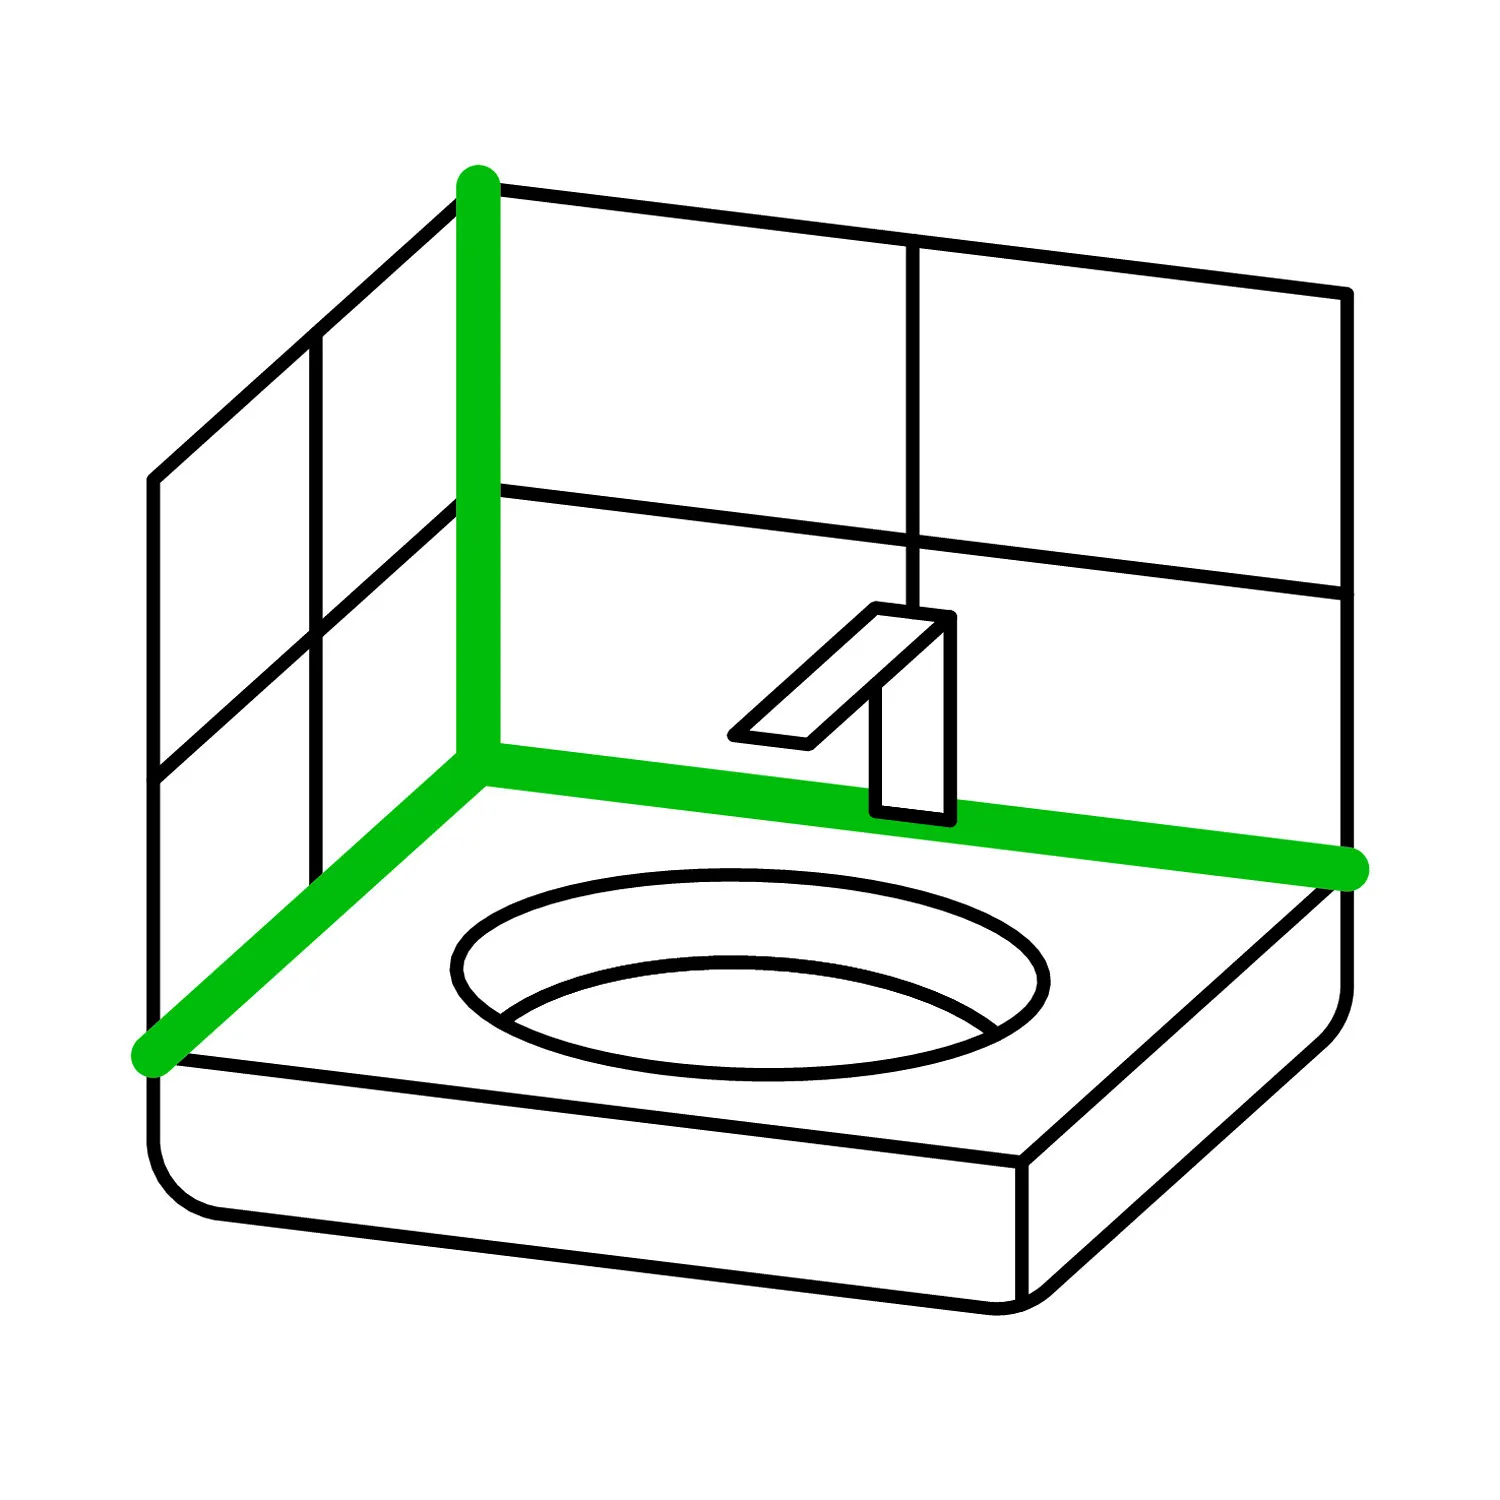
Step by step: renewing a silicone joint
1Cut out the old joint
Cut in along the edge on both sides of the joint with a utility knife or joint scraper and pull out the whole silicone bead. Important: work right down to the substrate, do not just cut off the surface – fresh silicone does not adhere to old silicone.
Check: The joint is completely clear, no loose old material visible or detectable by touch any more.
2Dissolve residue with silicone remover
Apply Otto SilOut silicone remover thinly to the remaining silicone residue on tile, bathtub or basin. The gel-like, non-running consistency is made specially for vertical joints and does not run off. Contact time approx. 10–30 minutes, depending on the layer thickness. Application temperature +5 °C to +35 °C.
Then pull off the softened residue with a spatula or cloth. Repeat the process for stubborn residue.
Check: The substrate feels smooth, no silicone residue visible or detectable by touch any more.
3Clean the joint and let it dry completely
According to the application instructions for Ottoseal S100 the contact faces have to be dry and free of grease and dust. Wipe over with a clean, lint-free cloth and then let the joint dry completely – best ventilate well for several hours or overnight, especially in the shower or bathroom.
Check: Finger test – the substrate feels dry and free of grease. Trapped residual moisture later prevents permanent adhesion and promotes mould under the new joint.
4Mask the joint
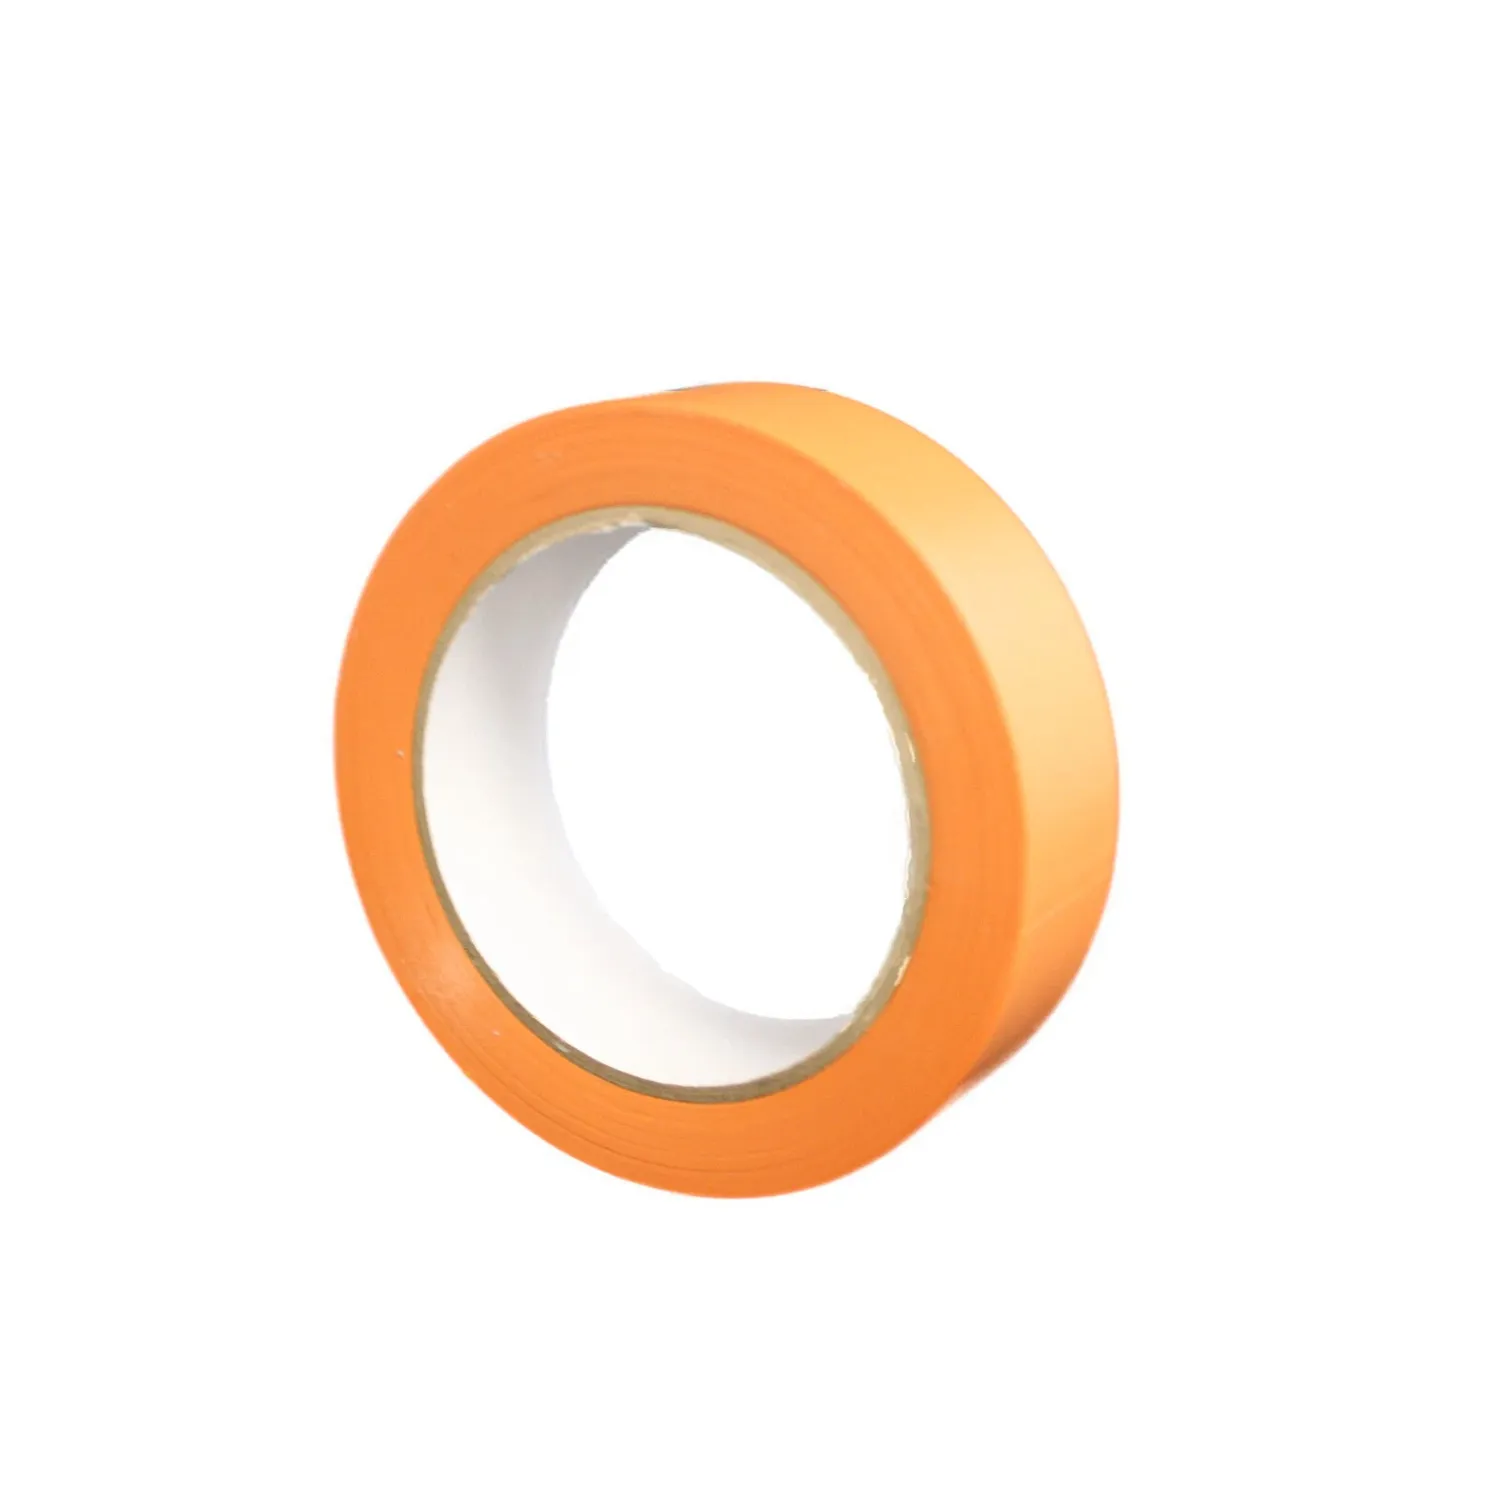
For a straight, exact edge, stick PVC adhesive tape on both sides parallel to the joint. The soft PVC tape is resistant to water, oil and solvents and UV-resistant for up to 4 weeks – if necessary it can stay on the surface somewhat longer without bonding and leaving residue.
Check: The tape lies tight against the edge, no waves or gaps towards the joint.
5Inject new silicone
Insert Ottoseal S100 into the hand-operated press gun and cut the cartridge tip at a slant at a 45° angle to suit the joint width. At an application temperature of +5 °C to +35 °C, inject continuously into the joint with even, constant pressure – the acetoxy-curing 1K silicone sealant is matched specifically to application and adhesion on ceramic substrates.
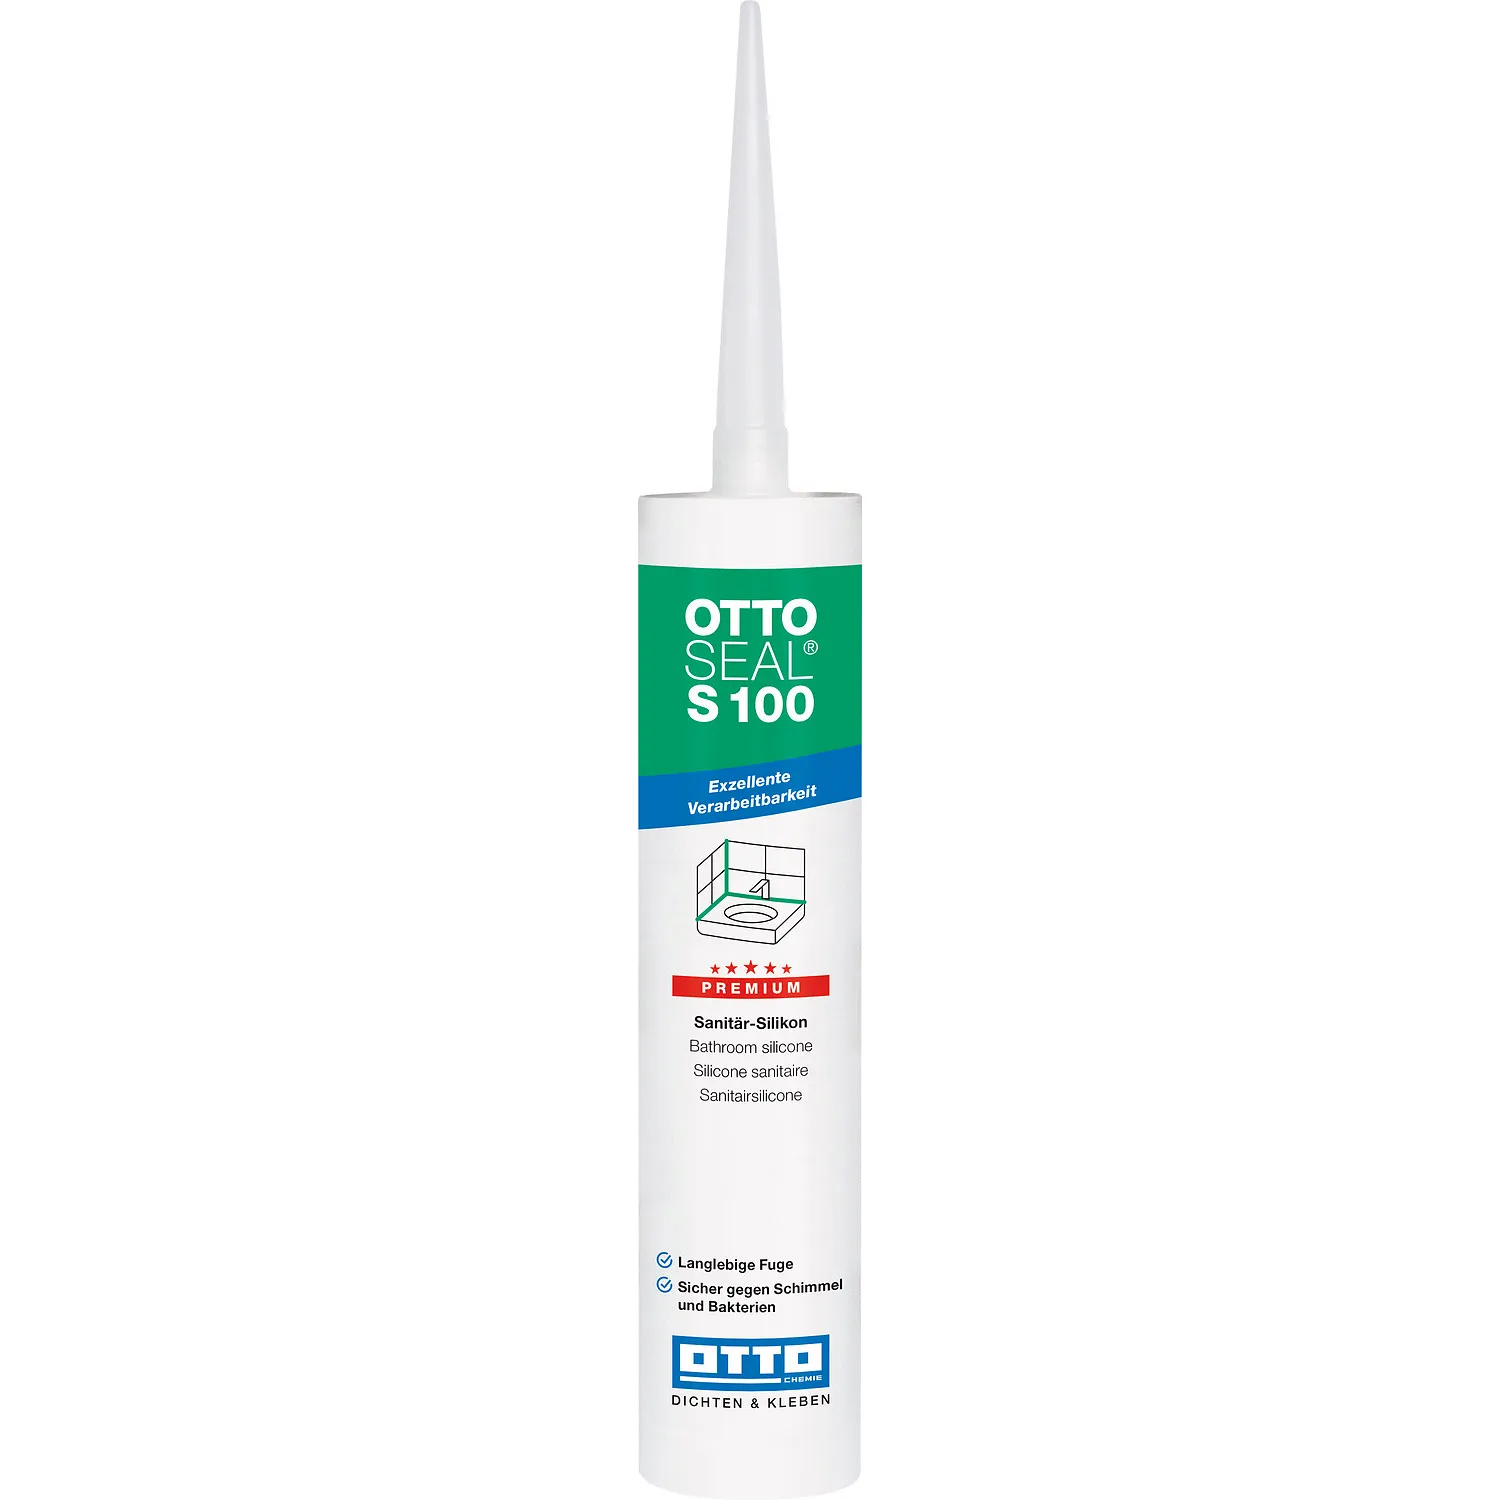
Check: The joint is filled completely over its whole length, no air pockets or gaps.
6Smooth immediately
Before a skin forms, smooth in one continuous stroke with the Otto joint smoother. Depending on the joint profile use the appropriate edge of the spatula (angle 2×90°, 15° or 20°). Wipe off excess silicone straight away with a cloth before it sets.
Check: even, slightly concave joint surface without air pockets or steps.
7Pull off the tape and let it cure
Pull the tape off straight after smoothing – before the silicone starts to set – outwards at a 45° angle, so that the edge stays clean and sharp. Then let the joint cure undisturbed: sanitary silicone cures through at approx. 2–3 mm per 24 hours, depending on temperature and humidity.
Check: A light finger test with a slightly damp finger – the surface no longer feels tacky before the joint may get wet for the first time.
Curing times at a glance
| Work step | Waiting time | Check |
|---|---|---|
| Contact time of silicone remover | approx. 10–30 minutes (depending on layer thickness) | Residue can be pulled off without leaving residue |
| Drying the joint before sealing | several hours up to overnight | Finger test: dry and free of grease |
| Skin formation after application | approx. 30–60 minutes (+20 °C / 50 % r.h.) | Time window for smoothing and pulling off the tape |
| Curing through | approx. 2–3 mm per 24 hours | Wait at least 24 hours before first contact with water |
| Full loadability (shower, contact with water) | approx. 24–48 hours, depending on joint width | Joint feels firm and dry, no deformation |
Common mistakes – and how to avoid them
- New silicone applied onto old: Fresh silicone does not adhere permanently to cured silicone and quickly comes away again – always remove the old joint completely down to the substrate.
- Damp joint sealed: Trapped residual moisture leads to loss of adhesion and mould under the new joint – let the joint dry completely before sealing.
- No tape used: leads to wavy, untidy joint edges – for a clean result always mask on both sides.
- Smoothed too late: Silicone forms a skin within a few minutes, after which it can no longer be pulled cleanly – smooth immediately after injecting.
- Tape pulled off too late: tears the fresh joint or bonds to it – remove the tape directly after smoothing, before a skin forms.
- Wetted too early: The joint does not yet withstand water and mechanical load – observe the drying times from the table, especially before the first shower.
Frequently asked questions about renewing silicone joints
How often should sanitary silicone be renewed?
At the latest when the joint cracks, discolours, shows mould or comes away from the substrate. Depending on the load, a well-applied joint lasts several years, in the shower and bathroom often 5 to 10 years.
What is the best way to remove old silicone?
Mechanically, by cutting in on both sides with a utility knife or joint scraper and removing the bead, then dissolving remaining residue with a silicone remover such as Otto SilOut and pulling it off.
How long does the joint have to dry before sealing?
The contact faces have to be completely dry and free of grease and dust. In damp rooms it is best to ventilate well for several hours or overnight before resealing.
Why does mould form in the new joint again?
Sanitary silicone such as Ottoseal S100 has fungicidal and bacteriostatic additives, but with permanent moisture and inadequate ventilation mould can still form. Details and countermeasures in the guide Preventing and removing mould in silicone joints.
Which silicone is suitable for my shower?
That depends on the substrate and the load. An overview with a recommendation is given by our guide Which silicone for the shower?, and a detailed comparison of the Ottoseal grades is in the guide OTTOSEAL S100 vs. S105 in detail.
How much silicone do I need for my joints?
Usage depends on joint width and depth. You will find a calculation aid in our Ottoseal silicone usage table.


