

The short answer: You seal natural stone joints exclusively with special natural stone silicone – normal sanitary silicone, or household washing-up liquid as a smoothing agent, cause permanent greasy stains on marble, granite & co., so-called edge-zone staining. Clean the substrate, mask the joint edges, prime on absorbent stones, apply the silicone and smooth exclusively with special natural stone smoothing agent. Remove excess immediately with clear water – that keeps the stone surface flawless.
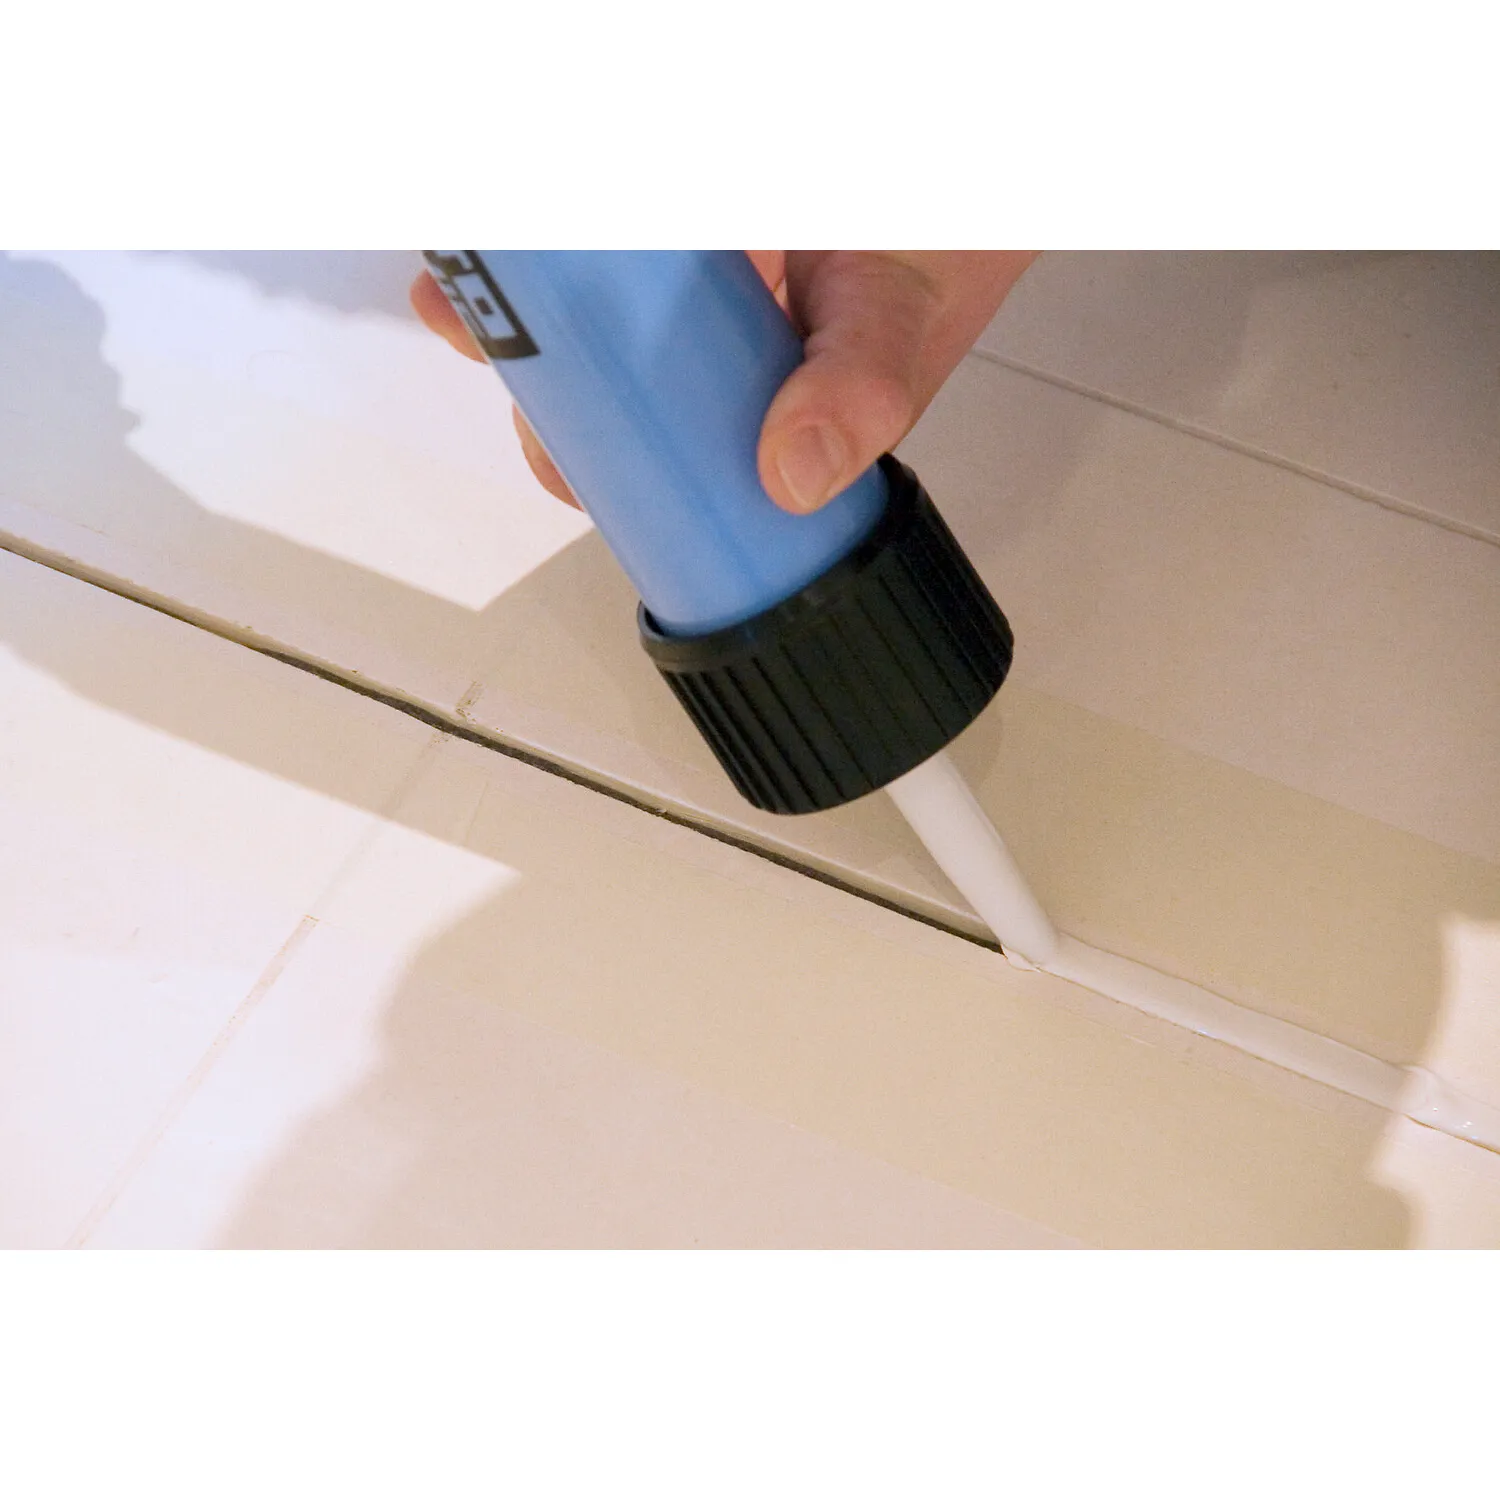
What you need: shopping list
Basic set (always required)


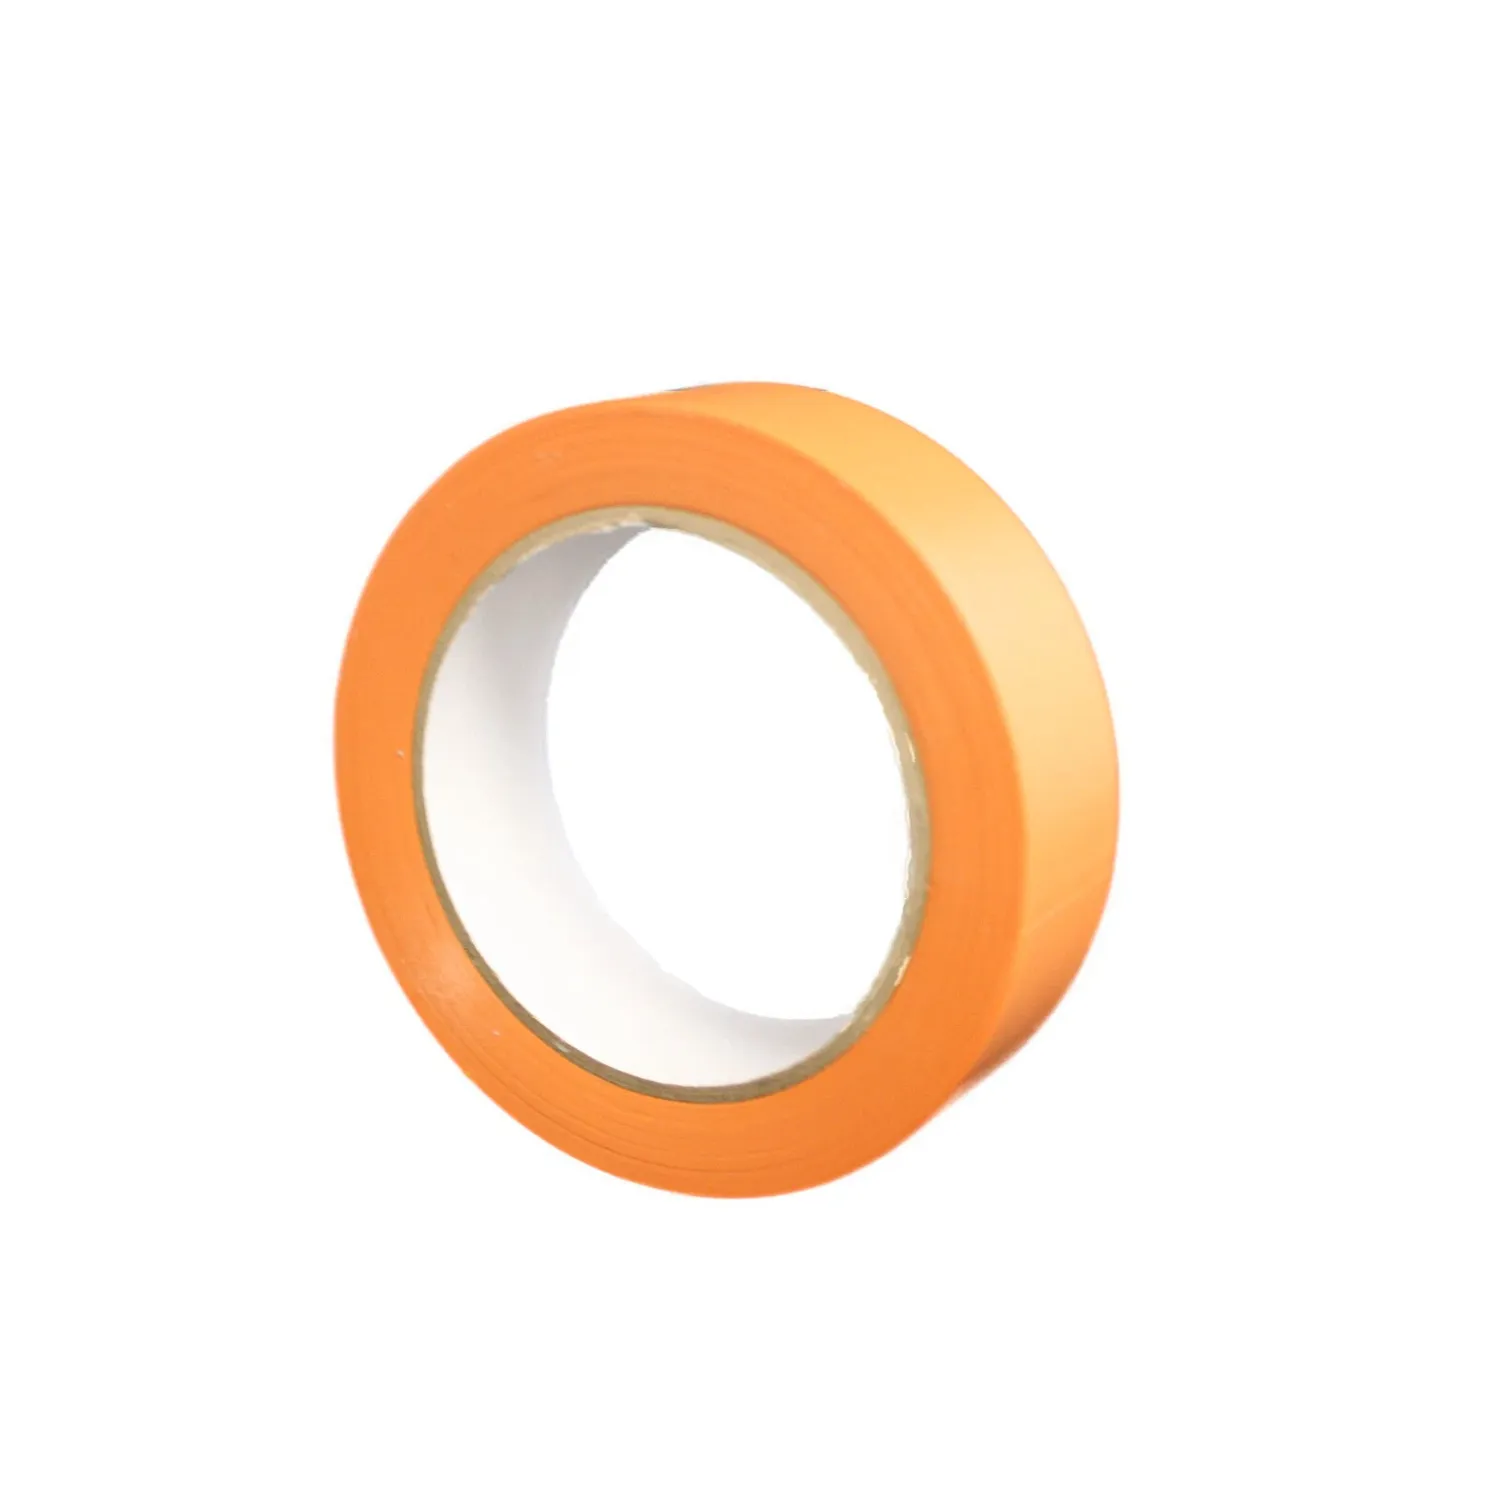
Optional – depending on the installation situation
- PE round cord joint filling profile – for joints deeper than approx. 10 mm, limits the joint depth and prevents the harmful 3-flank adhesion
- Otto Primer 1102 natural stone & sandstone primer – for strongly absorbent natural stones such as sandstone, improves adhesion and protects against moisture stains
- Ottoseal S117 natural stone silicone – same stain protection properties as S70, tested to EN 15651, in a reduced colour range
- Ottoseal S80 natural stone silicone – low-odour variant with a longer working time, ideal for interiors without much ventilation
Tools: cartridge gun, sharp utility knife for cutting the cartridge nozzle, lint-free cloth, bucket of clear water. You will find all system components in the category Natural stone silicone.
Why does natural stone discolour through the wrong silicone?
Natural stone such as marble, granite, sandstone or quartzite is – unlike tiles or plastic – porous. Plasticisers and oils can leak out of normal silicone and migrate into the pores of the stone. The result is a dark, often greasy edge along the joint, so-called edge-zone staining. It often arises only weeks after jointing and can hardly be removed with household cleaners.
Special natural stone silicone such as Ottoseal S70, S117 or S80, by contrast, is tested for edge-zone staining to ISO 16938-1 and ASTM C 1248 and guaranteed stain-free. Just as important: never use washing-up liquid for smoothing. According to manufacturer information, commercially available washing-up liquid can lead to discolouration on particularly delicate stone varieties such as Nero Impala or Nero Assoluto that can no longer be removed – only the special natural stone smoothing agent is suitable for this, and it is dermatologically tested as harmless.

More on the subject in our guide Stains on natural stone from the wrong silicone. Which silicone is best suited to which type of stone we explain in detail in the guide Which silicone for natural stone?
Step by step: sealing natural stone correctly
1Clean the substrate and mask the joint edges
The bonding faces have to be clean, free of grease, dry and sound. You clean porous substrates such as natural stone mechanically, for example with a wire brush or grinding disc, to remove loose particles, old sealant residue, dust and release agents. Any contamination not only reduces adhesion but can in addition be rubbed into the stone when jointing.
Then mask both joint edges straight with the PVC adhesive tape. This is more important with natural stone than with tiles: smears on the porous, often unpolished surface can later be removed again only with great difficulty. Check: The surface is free of dust and dry, and the tape lies exactly at the joint edge.
2Prime absorbent natural stones (optional)
Sandstone and other strongly absorbent natural stones take up moisture, which can lead to discolouration and worsen the adhesion of the sealant. In this case apply Otto Primer 1102 thinly and evenly with a brush or cloth and let it flash off completely. With particularly delicate or polished stones such as Carrara or Calcatta, an inconspicuous trial application is generally advisable before you joint over a large area.
Drying: approx. 30 minutes at +5 °C to +35 °C. Check: The surface feels dry and no longer tacky.

3Insert a round cord for deep joints (optional)
If the joint is deeper than about 10 mm, insert a PE round cord as a backing before jointing. It limits the joint depth and prevents so-called 3-flank adhesion – if the sealant additionally adheres to the back of the joint, it can no longer take up the movements of the joint elastically and cracks. Rule of thumb: the joint depth should correspond to about half the joint width.
Check: The round cord sits at an even depth, without twisting, and leaves enough room for the sealant.
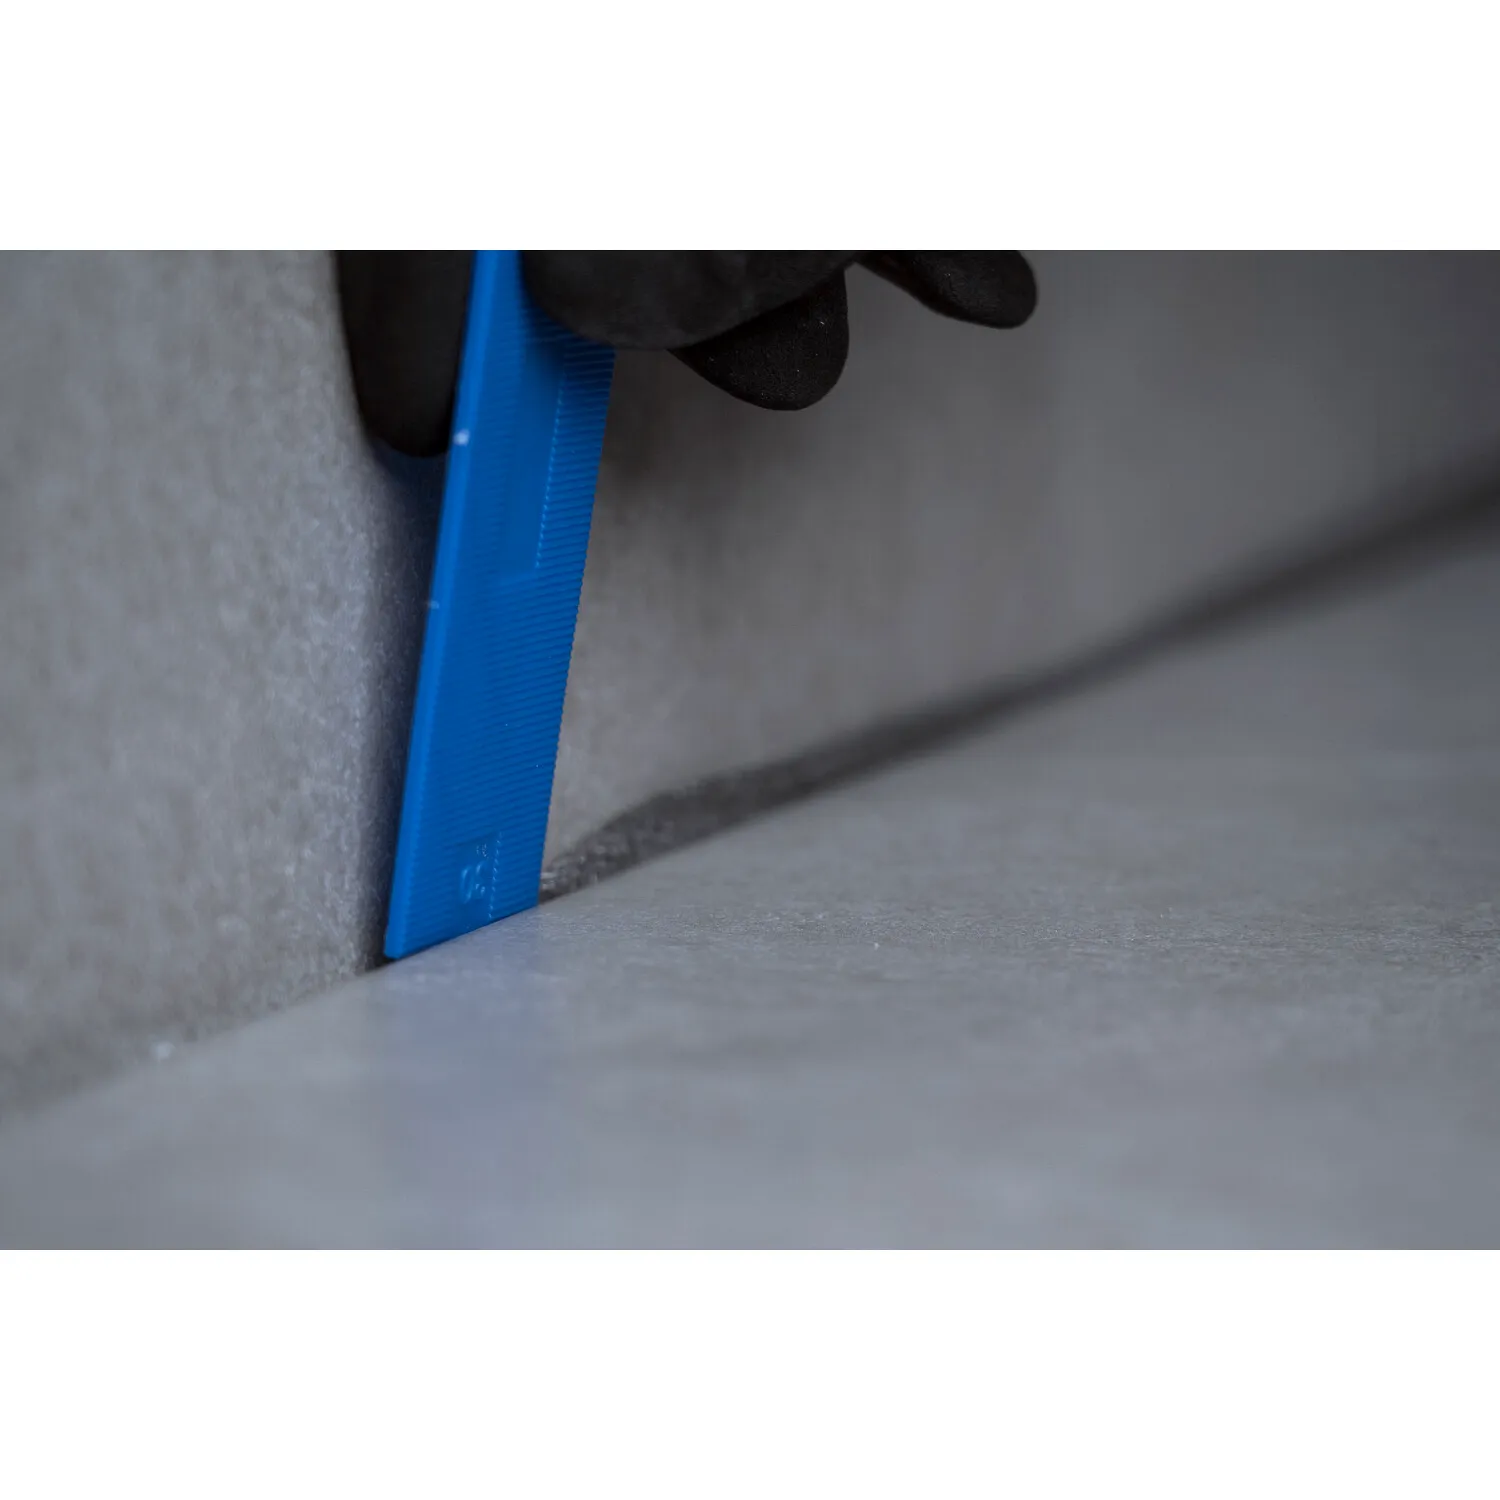
4Apply the natural stone silicone
Cut the cartridge tip at a slant, insert the Ottoseal S70 cartridge into the cartridge gun and run the joint in one continuous, even bead without air pockets. Application temperature +5 °C to +35 °C. Skin formation time is only approx. 5 minutes (+23 °C, 50 % rel. humidity) – so you have to move on to the next step quickly.
Check: The joint is filled completely and bubble-free, without voids at the flanks.

5Smooth immediately with natural stone smoothing agent
Important: Never use washing-up liquid or other household smoothing agents for smoothing – with delicate natural stones permanent stains threaten. Instead spray the natural stone smoothing agent undiluted and sparingly onto the joint and the joint spatula and smooth the joint in one stroke. Pull off excess silicone directly and dispose of it.
Do not let the smoothing agent dry on, as dried residue can leave matt, pale spots on the sealant surface. Wash excess smoothing agent off the stone surface immediately with clear water. Check: After washing off, no whitish or matt residue is visible on the stone.
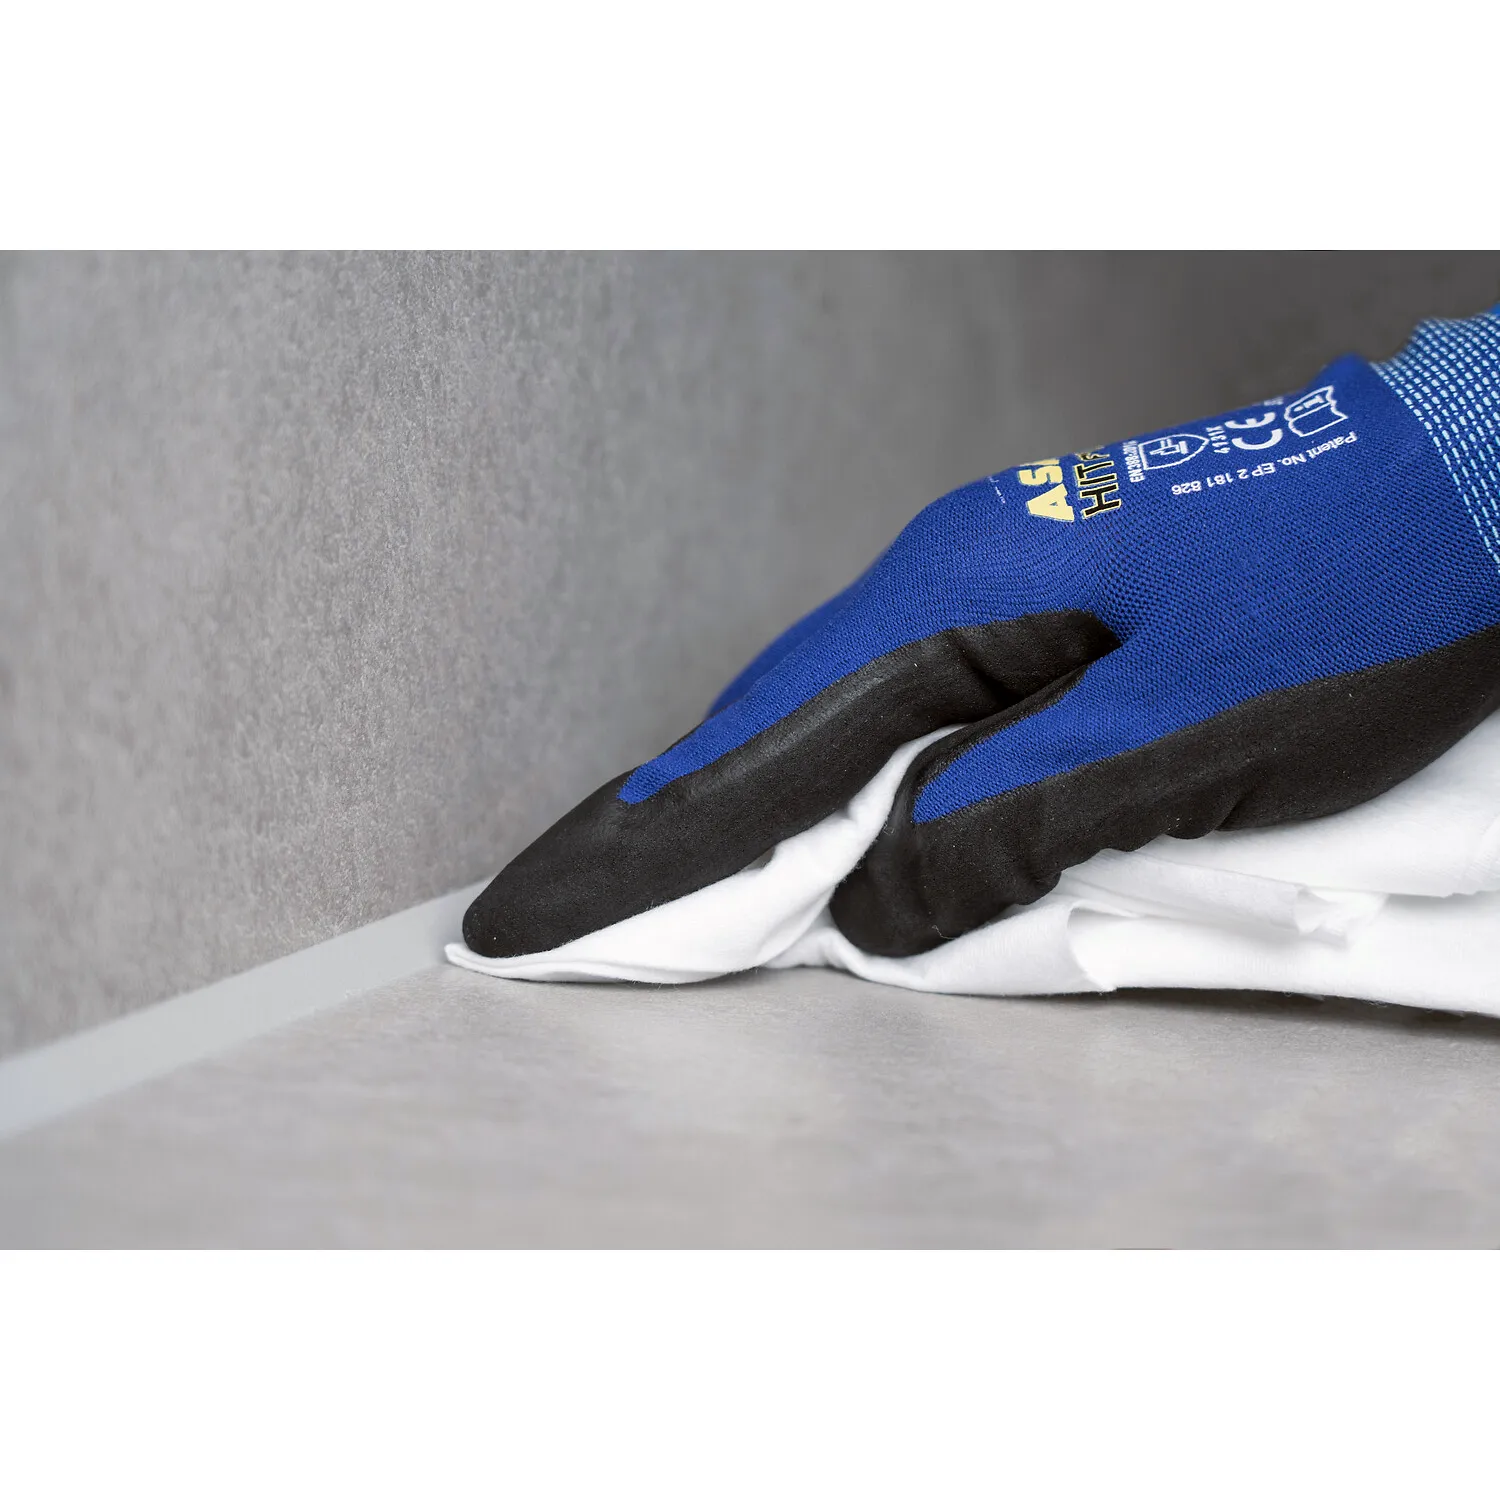
6Pull off the tape and let it cure
Pull off the tape immediately after smoothing – before the sealant forms a skin, that is within the first approx. 5 minutes. That keeps the joint edge clean and sharp. Clean the joint spatula and tools directly afterwards with water.
Silicone cures through at around 2–3 mm per 24 hours. Load the joint – for example through contact with water or mechanical pressure – only when it is completely dimensionally stable and no longer feels tacky.
Drying times at a glance
| Work step | Waiting time | Check |
|---|---|---|
| Flash-off of Primer 1102 (optional) | approx. 30 minutes (+5 °C to +35 °C) | Surface dry, no longer tacky |
| Skin formation Ottoseal S70 | approx. 5 minutes (+23 °C / 50 % r.h.) | Tape can be pulled off without leaving residue |
| Curing through of the joint | approx. 2–3 mm per 24 hours | Joint dimensionally stable, no tackiness noticeable any more |
Common mistakes – and how to avoid them
- Standard sanitary silicone used instead of natural stone silicone: Almost always leads to edge-zone staining. Only tested products such as Ottoseal S70, S117 or S80 prevent this reliably.
- Smoothed with washing-up liquid: With delicate stone varieties such as Nero Impala or Nero Assoluto, stains that can no longer be removed threaten. Use only special natural stone smoothing agent.
- Let the smoothing agent dry on: Residue leaves matt, pale spots on the sealant surface. Always wash excess off immediately with clear water.
- Joint edges not masked: Smears on porous stone surfaces can hardly be removed. Masking tape saves rework.
- No round cord inserted for deep joints: 3-flank adhesion arises, and the joint cracks when there is movement. From approx. 10 mm depth always fill behind.
- Absorbent sandstone not primed: Without a primer, porous stones take up moisture, which can impair adhesion and appearance.
Frequently asked questions
Why does normal silicone get stains on natural stone?
Plasticisers and oils can leak out of normal silicone and migrate into the porous stone surface. This edge-zone staining often arises only weeks later and can hardly be removed. Special natural stone silicone is tested for exactly this.
Do I have to prime natural stone before sealing?
Only with strongly absorbent stones such as sandstone is a primer sensible. With polished or dense natural stones no primer is usually needed.
May I use washing-up liquid to smooth the joint?
No. With delicate natural stones, washing-up liquid can lead to permanent stains. Use exclusively special natural stone smoothing agent and wash excess off immediately with clear water.
From what joint depth do I need a round cord?
From about 10 mm joint depth you should insert a PE round cord as a backing, to limit the depth and prevent 3-flank adhesion.
How long do I have to wait before I pull off the tape?
Pull off the tape directly after smoothing, before the sealant forms a skin – with Ottoseal S70 that is around 5 minutes at +23 °C and 50 % relative humidity.
How much silicone do I need for my natural stone joint?
The material requirement depends on joint width and depth. You will find an exact calculation with a table in our guide Working out silicone usage correctly.


