
Staining garden timber with GORI 88: step-by-step guide

Garden wood is stained in three basic steps: clean the substrate and check the wood moisture, then apply GORI 88 COMPACT in two thin, even coats with sufficient intermediate drying. A primer with GORI 23 Multi-Primer is only necessary on critical substrates such as metal-wood combinations or rigid PVC connections. Processing is at +5 °C to +35 °C, with at least 16–24 hours between coats.
Contents
What you need
Project template “Paint and oil outdoor wood”You stain garden timber in three basic steps: clean the substrate and check the correct wood moisture content, then apply two thin, even coats of GORI 88 COMPACT with sufficient intermediate drying. Only on critical substrates (metal-timber combinations, rigid PVC connections) is priming with GORI 23 Multi-Primer necessary beforehand. What matters are the application temperature of +5 °C to +35 °C and at least 16–24 hours of drying time between the coats.
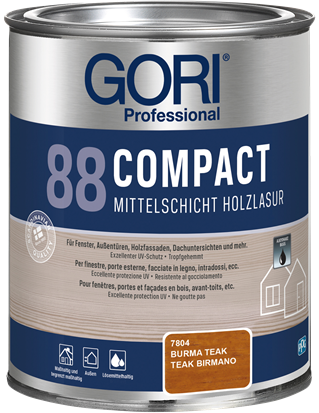
Facades, windows, garden furniture and fences made of wood need permanent UV and weather protection outdoors – otherwise the wood turns grey, cracks or is attacked by standing moisture. With GORI 88 COMPACT from our shop you apply a tested, thixotropic medium-build stain that is certified to EN 927-1 and EN 927-2. These instructions take you through preparation, priming and application – including all drying times and check criteria from the technical data sheet.
Shopping list
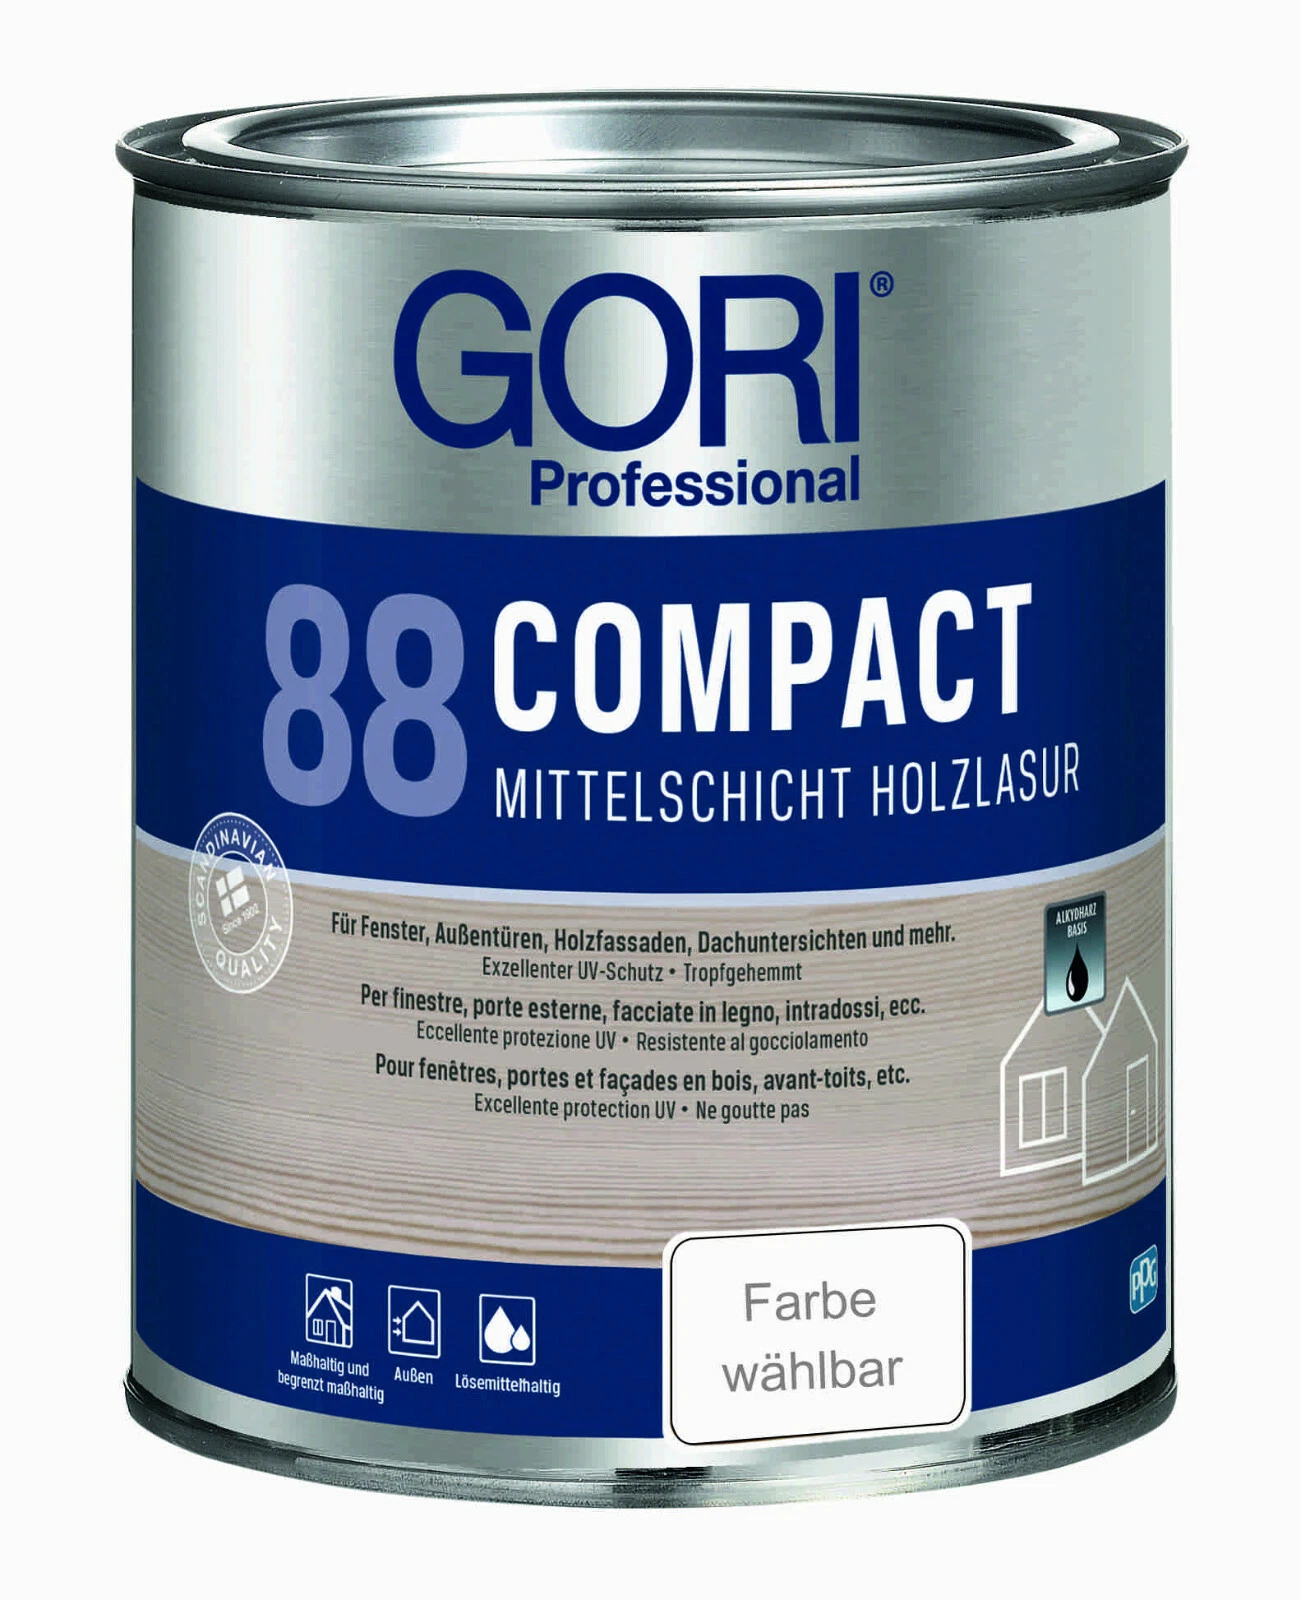
Basic set (always required)
Optional – depending on the installation situation
- GORI 23 Multi-Primer – needed with metal-timber combinations (e.g. window sills), rigid PVC connections or woods with strongly water-soluble constituents that can bleed through.
- GORI 33 Sensitiv thin-film stain – alternative to GORI 88 for play equipment, kindergartens or areas with direct contact with people (tested to DIN EN 71 part 3, eroding rather than film-forming weathering).
Tools
- Masking tape for masking glass, fittings and adjoining components
- Moisture meter for wood
- Stirring stick, masking film / cardboard, work gloves
- White spirit for cleaning tools (for GORI 23: water)
Why does garden timber have to be stained?
The alkyd resin basis with a high solids content provides long-lasting colour stability and weather resistance to EN 927-2 (natural weathering).
The wood moisture can escape, so the stain does not flake off or swell – unlike a closed varnish film.
The thixotropic gel consistency of GORI 88 prevents runs and drips, even on vertical surfaces and profiled timber.
Step by step: staining garden timber
Measure the wood moisture with a moisture meter. According to the technical data sheet, GORI 88 COMPACT is approved only for dimensionally stable wood (wood moisture ≤ 15 %, e.g. windows, doors) and wood of limited dimensional stability (≤ 18 %, e.g. facades, garden furniture). At higher values, adhesion problems and blistering threaten. Check: the reading is below the respective limit – otherwise let the wood dry further, protected from the weather.
Remove loose dirt and old coatings that are no longer intact completely, down to the pores. With an intact old thin-film stain it is enough to sand lightly. Only a sound, absorbent surface ensures that the new stain soaks in open-pore. Check: after sweeping off, no shiny or smooth remaining spots are visible, surface evenly matt and free of dust.
Mask glass surfaces, fittings and adjoining components with masking tape and cover the floor. Alkyd resin stain is difficult to remove from glass and metal once dry. Check: edges masked cleanly straight, tape pressed down firmly – no creep-under.
With metal-timber combinations, rigid PVC connections or substrates with water-soluble wood constituents, apply GORI 23 Multi-Primer undiluted with a brush or roller. The primer acts as rust protection on ferrous metals, adhesion promoter on zinc / aluminium / rigid PVC and isolating primer against wood constituents that bleed through. Drying time: dust-dry after approx. 1–2 hrs., overcoatable after approx. 24 hrs. at 23 °C/60 % r.h. – be sure to observe this time for the full blocking effect. Check: primer covers evenly, no translucent spots.
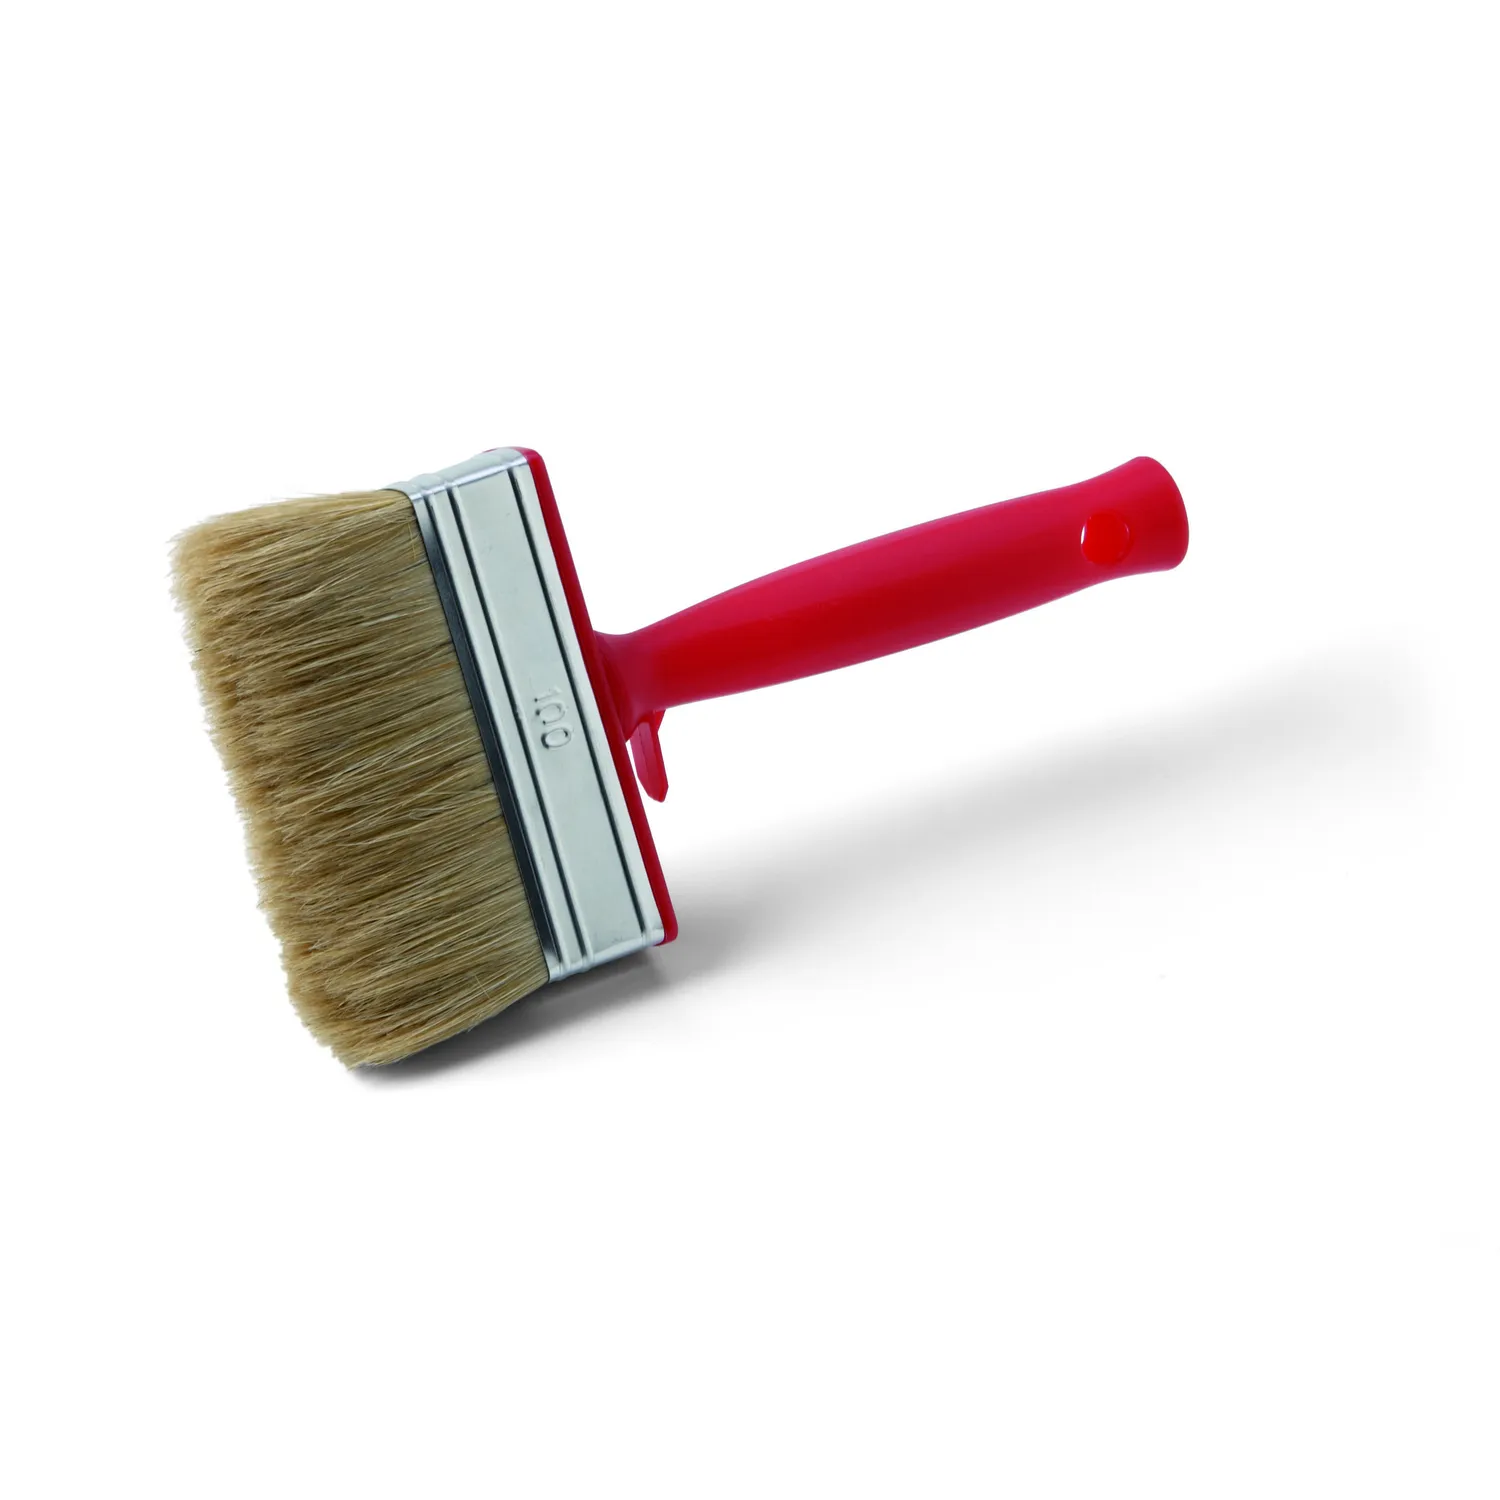
Stir GORI 88 well and apply it undiluted (if necessary max. 5 % white spirit) with the stain brush in the direction of the grain, approx. 65–80 ml/m². Work only at +5 °C to +35 °C and in dry weather – not in blazing sun or before announced rain. Treat end grain and strongly absorbent spots beforehand with more strongly diluted stain (max. 10 % white spirit). Check: no drip runs or accumulations in corners and profiles – if necessary brush over with a dry brush.
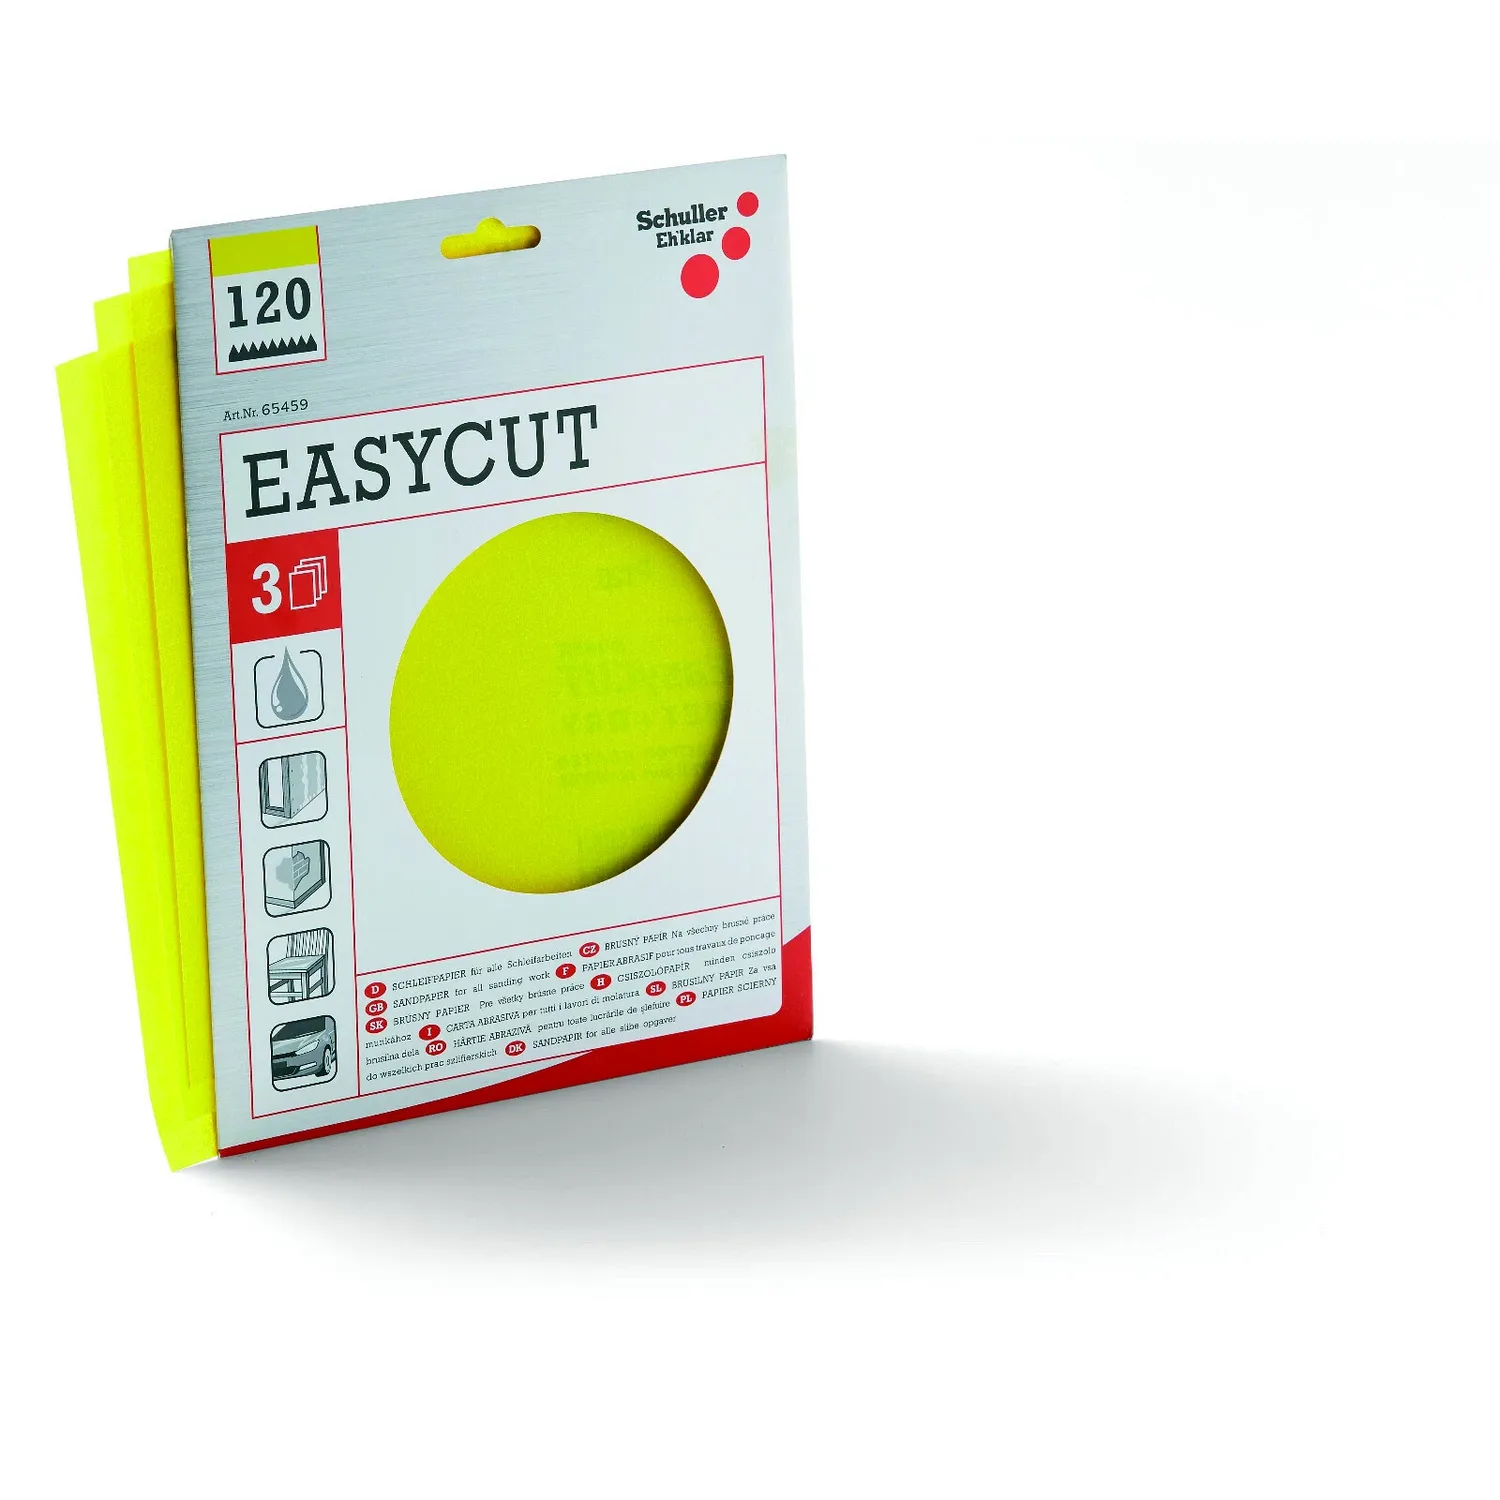
Let it dry for at least 16–24 hrs. at 23 °C/50 % r.h., correspondingly longer at lower temperatures or higher humidity. If wood fibres stand up after the first coat, smooth them with a light intermediate sanding. Check: scratch test at an inconspicuous spot – the surface must no longer be tacky and must leave no fingerprint.
Apply the second, covering coat with material from the same batch number to ensure uniformity of colour. GORI 88 is designed as a medium-build stain for as a rule two coats on primed or pretreated wood – only the second layer achieves the full protective effect to EN 927-2. Check: covering appearance even, no pale or translucent spots, colour uniform over the whole surface.
Let the surface dry through completely before furniture is used or components are installed, and clean tools immediately with white spirit (GORI 23 tools with water). Check: scratch test with a fingernail at an inconspicuous spot – no grooves, no rubbing off.
Drying times at a glance
| Product | Dust-dry | Overcoatable / further processing | Check |
|---|---|---|---|
| GORI 88 COMPACT | approx. 2–3 hrs. (23 °C/50 % r.h.) | approx. 16–24 hrs. (23 °C/50 % r.h.) | Finger test: not tacky, no imprint |
| GORI 23 Multi-Primer (optional) | approx. 1–2 hrs. | approx. 24 hrs. (23 °C/60 % r.h.) | Covering, no translucent spots |
Values according to the manufacturer's technical data sheet at the stated reference conditions. At lower temperatures or higher humidity the times lengthen.
Common mistakes – and how to avoid them
- Application outside the temperature window: Below +5 °C or above +35 °C the stain dries unevenly. Check the weather report beforehand and in heat paint the shady side first.
- Too thick an application in corners and profiles: Even with the thixotropic gel stain, drip runs can form. Spread as little material as possible evenly and unload the brush regularly.
- Colour batches mixed: Different batch numbers on one surface lead to visible colour differences. For contiguous surfaces use only one batch no. or pour several packs together beforehand.
- Intermediate drying too short: If the second layer is applied too early, it traps solvent – the stain stays soft or cracks later. Observe at least 16–24 hrs., correspondingly longer in damp, cold weather.
- Wood moisture not checked: Wood that is too damp leads to adhesion problems and blistering. Always check with the moisture meter before starting.
- End grain not additionally sealed: Water penetrates through the open pores of the cut edges and causes dark streaks. Treat end grain surfaces beforehand additionally with diluted stain (max. 10 % white spirit).
FAQ
How many coats do I need with GORI 88 COMPACT?
According to the manufacturer, GORI 88 is designed as a medium-build stain and is as a rule applied in two coats on primed or pretreated wood.
Can I apply GORI 88 to pressure-treated wood or teak / bangkirai?
No. According to the product data sheet, GORI 88 COMPACT is not suitable for interior coatings, parquet floors, pressure-treated wood or untreated hardwoods such as teak and bangkirai.
How long do I have to wait between the coats?
At least 16–24 hours at 23 °C and 50 % relative humidity. At lower temperatures or higher humidity the drying time lengthens.
Do I need a primer for my project?
Only if there are metal-timber combinations, rigid PVC connections or substrates with strongly water-soluble wood constituents. In that case apply GORI 23 Multi-Primer and observe the drying time of approx. 24 hours.
How much stain do I need for my project?
Allow approx. 65–80 ml/m² per coat, so with two coats approx. 130–160 ml/m². The exact usage depends on the wood species and absorbency and should be determined by a trial application.
What is GORI 33 Sensitiv suitable for compared with GORI 88?
GORI 33 is a water-based thin-film stain that is also approved for kindergartens, schools and play facilities to DIN EN 71 part 3 and weathers by eroding rather than forming a film. GORI 88 as a medium-build gel offers thicker, more covering protection. Details in the guide GORI 33 or GORI 88.
You will also find all the products from these instructions in our wood preservation category. If you are still unsure between the stain systems, the guide GORI 33 or GORI 88 gives you the direct comparison of both products.
Matching calculator
More guides on this topic
All guides on “Wood, paint and façades”
Comparison
Guide: GORI 33 or GORI 88 – which wood stain suits your project?
GORI 33 or GORI 88: thin-film or medium-film wood stain for which timber component
 Problem solving
Guide: brown stains in wall plaster – finding and fixing the cause
Where brown stains in fresh plaster come from and how barrier primer blocks them permanently
 Instructions
Guide: refreshing, cleaning and caring for WPC decking
Clean WPC decking, refresh its colour and impregnate it, with a realistic care plan